Showing posts with label daisy delight. Show all posts

Friday, July 26, 2019

Summertime Stamping

Ah, it's the lazy days of summer are here in upstate NY.  One of my fondest memories of summer as a girl is when I used to sit out in my backyard relaxing under the big maple tree and reading a book.  Those were the carefree days...

This week I made some cards with a summer theme. 

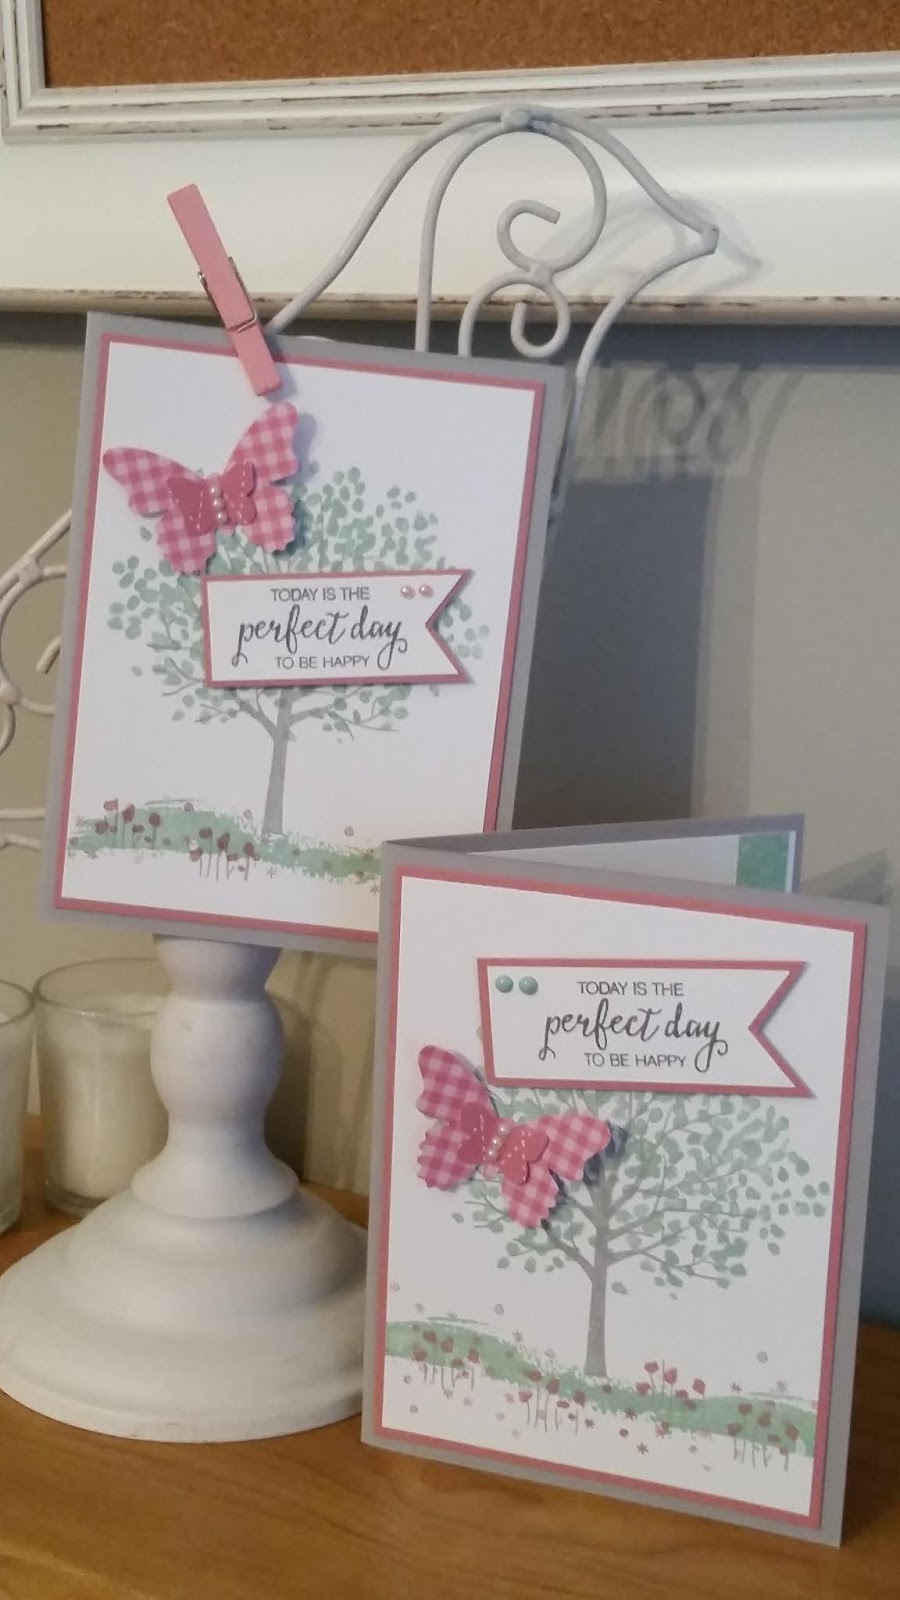
I used an old favorite stamp set, Sheltering Tree for my card.  It kind of reminds me of the tree in my backyard when I was a girl. 

I added the new gingham in-color paper paired with the Butterfly Gala punch and new Rose Rococco cardstock to give it an updated look.  It's hard to see in the photo, but the green tree just looks very summery to me.  :)

Next up is the Daisy Delight stamp with its coordinating punch.  Daisies happen to be my favorite flower.  Although I've never actually seen a daisy in Rose Rococco, I like the soft look of these on my card.  I used the new Birch background stamp for the base of my card.  Seriously, I want this on every one of my cards! 

The cut out words and the little bird are framelits from the Well Written dies.  Cute, right?

How are you spending the lazy days of your summer? 
Tuesday, July 4, 2017

It's a Daisy Craze!

This week I made 3 cards featuring the Daisy Delight stamp set.  I wanted to show the ladies who come over to stamp with me the diversity of the Daisy stamp.  And I am loving this set.  
 
 Here is Card #2 (Card #1 is in the previous post), made with Bermuda Bay cardstock and accented with some sponging. 

For the sponging, I punched 3 different sized circles with punches onto a piece of scrap cardstock and then sponged them onto the white layer with different colors.  I used Flirty Flamingo, Bermuda Bay and Soft Sky.  Once you are done with that, randomly stamp the Daisy image using black ink. 

Add a saying and some rhinestones to make it sparkle.  Very different look, right?  I got the idea for this card on Pinterest from Amanda Mertz.

Card #3 is a bright and cheery yellow Thank You card.  For this card, I used thick white cardstock for the base, added black frame and some Daffodil Delight designer paper.  Then I used a circle framelit and added stitches with a white chalk pen.  I stamped and punched two daisies for the center.  I put the dimensionals under the black circle and under the saying.  The idea is from dutchstampin.blogspot.nl.

There are so many different ways to use the Daisy stamp set!  I think I've only just begun.  :)


Friday, June 30, 2017

Coneflowers from the Daisy Punch

This week I have been working on making cards using the Daisy Delight stamp set with its coordinating punch.  I love punches that match the stamp sets- they are so quick and easy to use. 

The cards have 2 different colored flowers.  I used Tranquil Tide at first and then Early Espresso.  I decided that I like the brown flowers better.  Then I stamped a light speckle stamp using Crumb Cake ink for a subtle color in the background. When I stamped the saying onto this card, the ink smeared so I stamped the saying again on some scrap and mounted it in an oval scallop.  I mean, who wants to start over when your card is almost done? 

For this project, I used the Daisy punch and cut it in half to form a coneflower.  It was stamped on the Daisy designer paper to give it a watercolor look.  What do you think? 

I saw the idea for this card on Pinterest from Cindee Wilkinson.  I love how it came out. :)

Monday, June 19, 2017

Loving the New Stampin Up Catalog

I have to say that I am loving the new Stampin Up 2017 catalog.  There are so many new interesting items offered this year. 

The first stamp set that caught my eye was the Daisy Delight bundle.  I got the idea to make this little pot of flowers by Debbie Blake.  I offered this project at my New Catalog Open House.  All of the ladies loved it!

Each daisy flower is made using 3 stamped flower images and then they are punched out with the coordinating punch.  (You know how I love the matching punches!)  I curled them with my bone folder to give them some texture. 

Then I put a dimensional between each flower and added one of the new gem embellishments to the top.  I attached them to a floral wire by bending it into a circle and mounting it with some glue dots.  Then I inserted them into a styrofoam floral base.  I love the idea of putting the dragonfly into the flowers.  It add such a nice touch, don't you think? 

I stamped two of them and attached them to some floral wire also.  Then I adhered the two dragonflies together so that you can see his wings from the top and from the bottom side. 

I used a new saying from the Colorful Season stamp set that says, "Life is a beautiful thing."  Perfect.