Showing posts with label jars of love. Show all posts

Friday, August 20, 2021

Color & Contour


 For my cards this week, I chose the stamp set, Color & Contour.  I had seen some pretty samples using it, especially with black and white contrast.  I selected the new designer paper from Sale-a-Bration called Beautifully Penned to pair it with.

I also used the die cuts that coordinate with this stamp set, called Scalloped Contour Dies.  The flowers on the stem cut out well using the die, but the daisy-looking flower is hard to match up so I cut them out by hand.  

I copied the idea of using a jar to put the flowers in from Tammy Capone.  I think they look really sweet in the jar.  

For the two pink cards, I used the new color Polished Pink.  The pink card idea is from Stampin Pretty and the Happy for You card idea is from The Stamp Doc on Pinterest.  I especially like the cards with the gray papers on them the best.

I enjoyed using this set, and may have gotten a bit carried away.  I wanted to try the gray papers with some of the newer colors.  For these two cards, I used Soft Succulent as the main color.  I copied the two-panel card from Stampin Pretty.  


Next up are two cards using the Pale Papaya color in them.  The gingham paper is from the Pansy Petals paper collection.  


Here are the two cards using the Fresh Freesha color.  Which color scheme do you like the best?  

I had so much fun making these cards that I didn't want to stop.  There are so many pretty ways to use them with their coordinating dies.  Have you tried this set yet?

For my stamp class, I will let the ladies choose which 4 cards that they want to make.  I hope that goes well.  LOL


Saturday, September 8, 2018

Farmhouse/Woodsy Look


This week I was playing around with my wooden 6x6" papers and came up with some "woodsy-look" cards.  The first used the Colorful Seasons set to compliment the wood look.  I love the brown cut-out twig and the leaves.   I also used the Basket Weave embossing folder on the accent piece.  Happiest birthdays is from Picture Perfect Birthday.  It fits so well in the stitched circle frame.

Here are 2 more cards with the same layout.  This time I eliminated most of the pink flowers and added a pine cone cut out.  Now they have a more masculine/fall look to them. 

For this card I used the Jars of Love and added some green springs from the Pretty Pines thinlits.  I bought these cut outs just for the sprigs!  They can be used for cards that don't have a specific holiday look to them or they can work themselves into the Christmas card stack.  Idea is from Narelle Farrugia.

Next up is a "fancy fold" card using the Jars of Love set again.  I added some greenery and flowers to the jar.  I got the idea from Mandy Depioggi.

Lastly is a card made using the Dandelion Wishes set.  One card is just copper embossing and the other has a little sponging on it to give it some color.  They both came out nice and I'm sure which one that I even like better than the other.  They can also be used to send to a man friend.  :)

What have you been making using the Wood Textures papers?


Sunday, April 15, 2018

Rose Red, My Favorite Color

Rose Red is my favorite Stampin Up color.  I have used in a LOT of my cards in the past years.  It always seems to brighten up the room and put me in a good mood, well, as much a color can.

I made this card as a Make & Take for my once-a-year demonstrator Shoebox Swap Day that we set up at the local firehouse.  We get together and each demonstrator brings one Make & Take for everyone to make.  At the end of the day, I returned home with almost 20 stamping projects!  It was so much fun making each girl's project without having to come up with all of the ideas myself.  :)

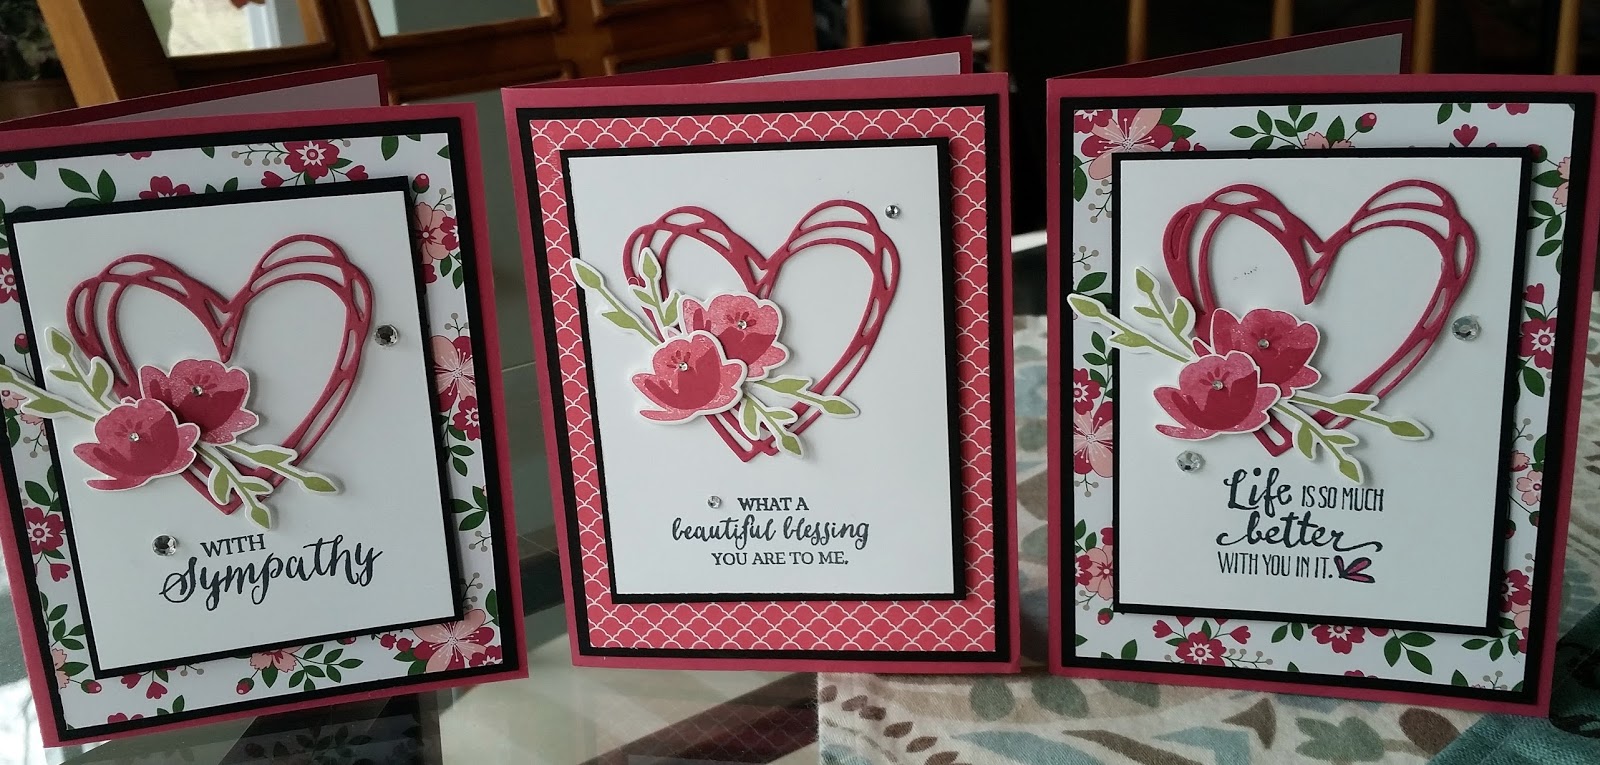
The heart is from Sunshine Wishes thinlits and the flowers are from Jars of Love stamp set.  I used assorted sayings to finish off the cards.  I have to say that this card represents my colors and my style.  It's like a little piece of artwork that is perfectly me.  :)


Monday, September 11, 2017

Summertime Frame


Ahh, I'm so sad to see summer wind down.  I think I had so many expectations for summer and I didn't get to do many of them this year.  So I'm desperately trying to finish my summer projects and activities with a bang.

I have wanted to make a Summer framed project for a couple of years.  So I finally sat down and came up with something!  I had a bunch of these 8 x 8" frames laying around (!), so I took the glass out of the frame and made this 3-D project.

I started out making the squares to fit into the frame.  I wanted to have different sizes to give it some interest.  There were some summer stamp sets that I definitely wanted to include.  Don't you just love the fireflies from the Jars of Love set?

Jars of Love is also used for the lemonade and the flower arrangement within the heart, which is from the Swirly Bird framelits.  The sailboat is from the Swirly set, too.

I had to include the beloved Daisy punch and also the Adirondack chair from the Colorful Seasons. The kite in this frame is from the Swirly set.  I tried working up the frame using some different colors and different accent flowers.  This second one has a bit more whimsical look to it.

I'm not even sure which one that I like the best.  In this frame, I used coral colored paper for the background.  I just love the colors, don't you?

Which frame is your favorite?   Have you ever made a collage frame using different stamp sets?  I think it came out so nice, that now I want to work on a Fall one.  :)

Monday, September 12, 2016

Still More Summer!

Last week I made this card that I copied from Mary Fish.  I just think it's the cutest summery card ever!  I took out the Jars of Love stamp set, stamped the 3 jars first onto white cardstock and then onto the pretty Fruit Stand designer paper.  I used the framelits to cut out the white jars, and then I hand-cut the jars on the designer paper, cutting just inside of the second jar lines.  This makes the "fruit" look like it's inside of the jars.

I embossed the jar lids with gold embossing powders and then arranged the jars on the card using some dimensional dots on the left side of the jars, giving them the look like they are sitting on a shelf.  The saying is from Apple of My Eye. 

Seriously, can it get any cuter than this?  I'm off to make more.  :)