Wednesday, August 14, 2019

Patchwork Loves Embroidery

Last weekend I sprained my ankle and couldn't do any walking or fun things.  So I looked through my project books and decided to work on some embroidery while resting my foot.

I wanted to make a little bag that I can bring with me to work on small projects, so I chose this bag from the book, Patchwork Loves Embroidery. I've had the book for a while, but just haven't made anything out of it yet.  It's a sweet design by Gail Pan, and I had fun working on it.

The embroidery portion took me about 3 1/2 hours to finish.  I was watching the new season of Heartland on Netflix and stitched it while watching 4 episodes.  :)

I had purchased some fat quarters at a recent quilt show in Vermont called Winter Wonderland by Anni Downs for Henry Glass fabrics.  Although the images are wintery, I liked the colors and didn't think that it would matter.

I didn't use the snowman or the Santa fabric in this projects, but I did use the little penguins.  I love how the colors of the fabric work so well together.  I can't wait to make more projects with this fabric collection.

I picked through my assortment of DMC floss and pulled out the colors that I thought would match or coordinate with the fabrics.  Then I added some matching buttons to complete the look.

All in all, I think it came out pretty cute!

Now I need to make a needle and scissors holder to match the bag. :)

What about you, have you combined some embroidery with your patchwork lately?


Friday, July 26, 2019

Summertime Stamping

Ah, it's the lazy days of summer are here in upstate NY.  One of my fondest memories of summer as a girl is when I used to sit out in my backyard relaxing under the big maple tree and reading a book.  Those were the carefree days...

This week I made some cards with a summer theme. 

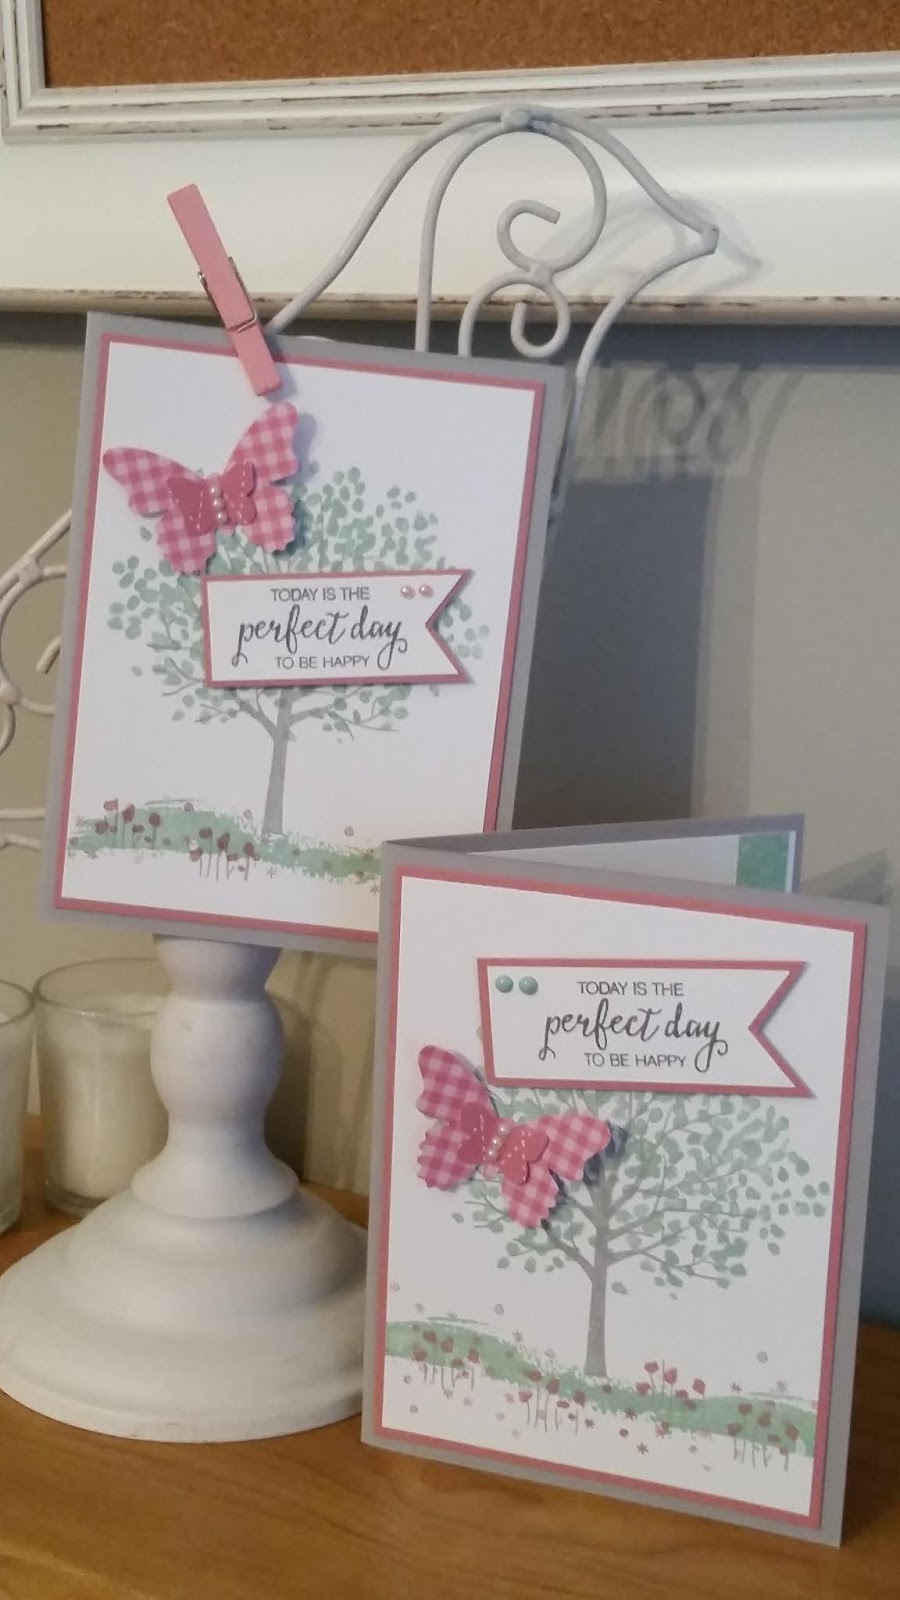
I used an old favorite stamp set, Sheltering Tree for my card.  It kind of reminds me of the tree in my backyard when I was a girl. 

I added the new gingham in-color paper paired with the Butterfly Gala punch and new Rose Rococco cardstock to give it an updated look.  It's hard to see in the photo, but the green tree just looks very summery to me.  :)

Next up is the Daisy Delight stamp with its coordinating punch.  Daisies happen to be my favorite flower.  Although I've never actually seen a daisy in Rose Rococco, I like the soft look of these on my card.  I used the new Birch background stamp for the base of my card.  Seriously, I want this on every one of my cards! 

The cut out words and the little bird are framelits from the Well Written dies.  Cute, right?

How are you spending the lazy days of your summer? 

Monday, July 22, 2019

Teepee Baby Quilt


This past weekend was pretty hot here for upstate New York.  We aren't used to weather above 100 degrees and frankly, I don't really care for it when it's too hot.

So I decided to stay home in the air conditioning and work on a baby boy quilt set.  I had picked up some really cute fabric last year on my Shop Hop and took it out to make a baby quilt.  One of my daughter's friends is having a baby boy in a couple of months and I thought it would be fun to work with this cute fabric.

I cut the fabric strips into different widths and sewed them together for the quilt front.  Originally I had some orange strips in this, but didn't really like how it looked.  So I took them out and replaced them with the dotted teal.

I like how the colors are more cohesive now.  I layered it with some backing and batting and quilted straight lines in the rows.  I really like how it turned out.

I was running out of fabric for the backing, so I sewed what was left of the brown fabric to the top and bottom of the quilt.  It kind of frames it in and I like how it looks.

Then I worked on some matching bibs and put terry cloth on the back.  I love this bib pattern and like how these can be used for a long time.

I then finished off the gift set with some matching washcloths.  The more I worked with this cute fabric, the more I liked it.  I hope the recipient likes her baby set.  :)

Thursday, July 4, 2019

Wool Hearts From Sweater Scraps

Some of you know that I like to make mittens from used wool sweaters.  Once I cut them out, I'm left with a lot of sweater scraps. I've made stockings for the tree out of them in the past and this year I cut out hearts from the sweater remains using a couple of old Sizzix heart-shaped dies.

Then I sewed the hearts and placed them out as part of my home decor!  They are sitting in a wire leaf basket on my dining table.  Everyone who comes over wants them but so far there are none for sale.  :)

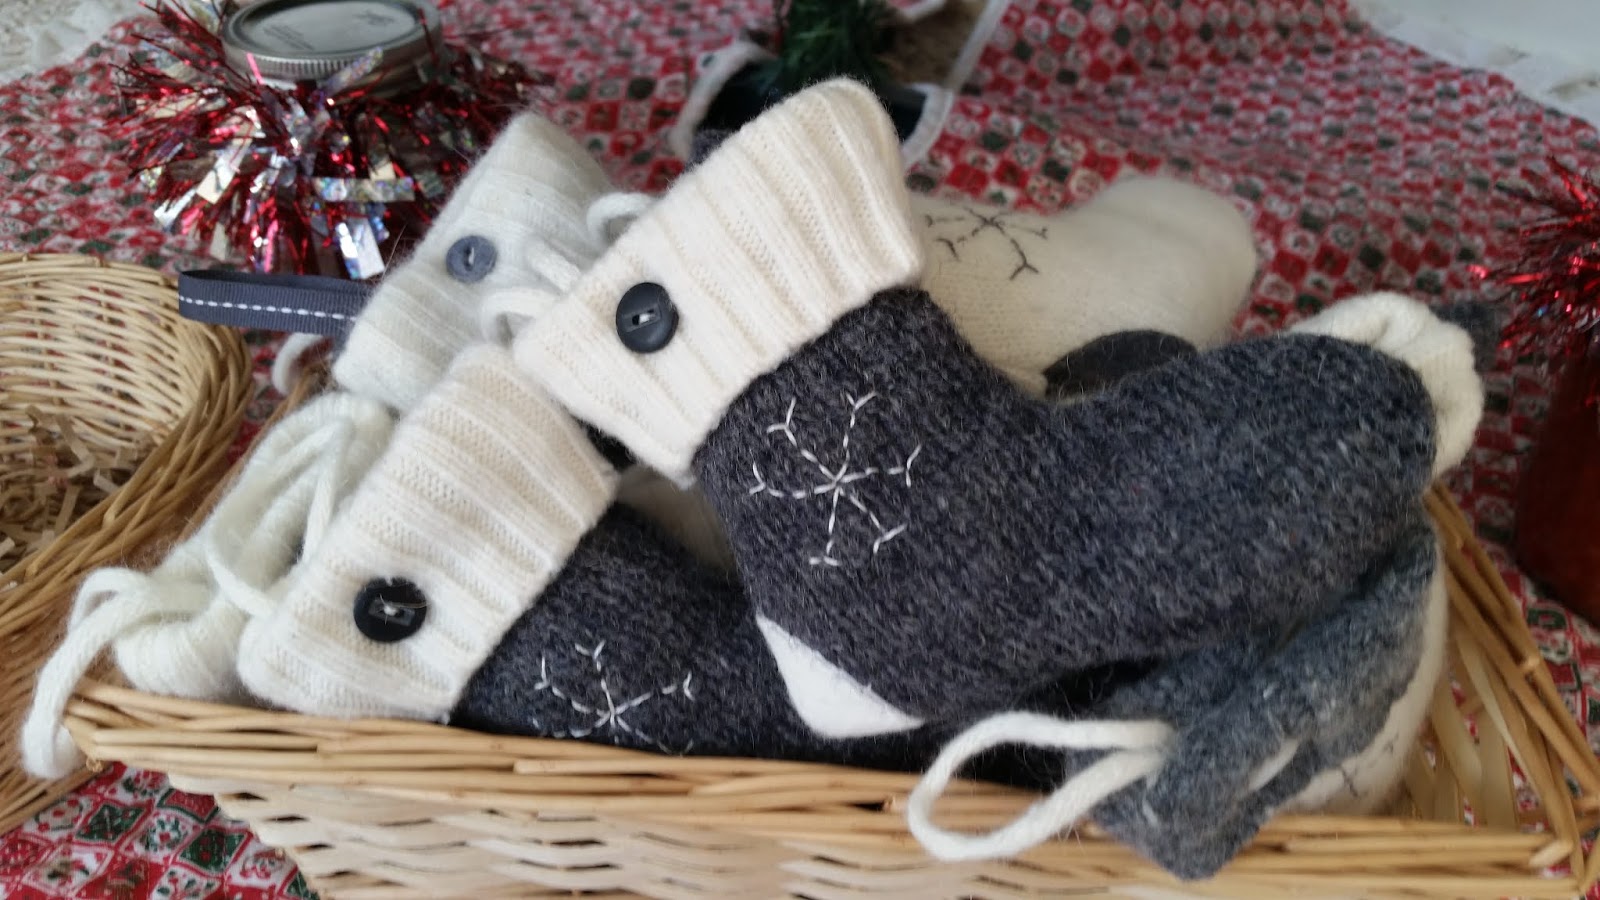
Here is a photo of the stockings that I made last year from the wool sweater remnants.

I hand-embroidered a star on the front of each one for embellishment and added felt for the heels and a matching button at the top.  They are cut out using the stocking Sizzix die.


One year I even made catnip mice out of them for the resident kitties.  Check them out here.

Wednesday, July 3, 2019

Set Sail in the Direction of Your Dreams

This past week I made this wooden decor piece for a friend who graduated from high school.  It's about 6" x 8" and I used a wooden block that I picked up from Joann's left over from the holidays.  I painted the block and then added the designer paper from the Come Sail Away designer paper set for the background.

I used the Stitched Nested Labels to frame in the saying.  Then I added a compass cut-out from the designer paper, a stamped lighthouse, some ribbon, a cut out silver wheel, an anchor, a stamped world image from an old sailboat set and some more embellishments.  I added some designer paper on all 4 sides of the block to give it a finished look.

I love how it turned out.  You can make decor out of any stamp set or paper!  What will you make from this set?

Come Sail with Me!

I love anything that reminds me of the ocean.  Seriously, why do I not go there more?  This month I chose to use the Sailing Home stamp set for my cards and projects. 

The designer papers have a great masculine look to them, but they don't have to be for men only.  Even ladies like blue and sailboat cards.  :)

This first card is from Bonnie O'Neill.  You can't see in the photo, but the wheel is cut out from silver paper, which makes it shine so nicely. 
The second card with the sunset in the background came from raxzldazl on Pinterest.  I used a punch to create the circle mask and sponged in the sunset.  I made the waves from a stamp in the Lilypad Lake set.  

I colored in the sailboat using the blends and added just a bit of orange color on the "sea" for the reflection of the sunset in the water.  I used the blends to create a shadow near the boat.  I added two orange sequins and that really tied in the orange colors on this card.  Ah, don't you wish you were on that sailboat right about now?

I got the idea for this card from Narelle Farrugia.  She has some really nice cards on her blog.  I added the lime green card and coloring to give it some pizazz and then finished it off with a couple of lime green accent sequins.  The background for the saying is just cut out from some green cardstock to frame the saying.  

Here is the inside of the card.  I made it for a friend who is graduating from high school.  I love the saying, Set sail in the direction of your dreams.  Right?

And latestly, I found this idea from Stacey Marsh.  It is simple, and yet so profound.  I changed up the colors a bit and used the new Seaside Spray color along with gray accents.  Then I just tied a gray piece of thick twine in the anchor.  Perfect, easy card.

Which one do you like the best?  

More Birds

I had so much fun making cards using the Free as a Bird set that I could make them all day, every day!  I just love anything that had little birds in it.  They are so trending right now.

It's hard to pick a favorite card, but I just love this one.  I cased it from the Stampin Up catalog and I just love the colors in it!  The new Pretty Peacock and Terracotta Tile are featured in it.  I colored in the birds using the stamping blends.  And I love the saying, too.


 This card uses the Stitched Nested Labels in both the positive and the negative space.  I added a dimensional to the saying to make it pop in the space.  Isn't the paper with the birdhouses on it so adorable?  I saw the idea on Facebook but can't find the name of the designer.  Let me know if it's you or someone that you know.

Last up is a gray card that uses a branch cut out from last year's Petals and More framelit set.  It looks so great on this card!


I cut out the bird duo from the designer paper and framed them in a scalloped circle.  The larger flowers are stamped and colored in using the blends.  I used the Stitched Nested Label dies for the saying.  The gray birds match the gray cardstock perfectly.  I love the look of this card. 

Which is your favorite bird card?