Friday, August 20, 2021

Penguin Playmates


 One of the designer papers that is offered in the SU's summer Sale-a-Bration catalog is this fun set of papers called Penguin Playmates.  The colors are cheery and bright and Penguin and his friends are SO cute!  I love whimsical images from Stampin Up.


All of the cards in this set are not made with stamping, but with images cut out from the designer papers.  One night I sat and cut out several images while watching TV.  Then I was all ready to put the cards together.  


For this card, I cut the snowbanks out of the blue paper in the package.  I used the die cut from last year's Frosty Friends.  

Then I cut out some trees using the green dsp from the set with the cut outs from last year's In the Pines die cuts.  The snowflakes are from So Many Snowflakes die set.  

Then I just added a couple of Penguin friends and a saying!  So easy and so much fun.  

The snow friends are all interchangeable on the cards.  This card idea is from Christine Trimble.


For my next card, I used Just Jade for the cardstock and cut out a green snowbank for the polar bear to sit on.  If the snow was white, he wouldn't show up as well.  I also tucked a green tree behind his head to make him stand out better.  A piece of designer paper, a snowflake and a saying.  

The fun thing about these cards is that you can use any saying that you'd like.  I chose this saying from the Snowflake Wishes stamp set.  I cut out a couple of little trees from the paper and added them, as well.

Although you can't see it in the photos, I also added Wink of Stella glitter to their clothing items.  It really makes the cards shine!


For the Foxy card, I used the Stitched So Sweetly dies for the saying.  I cut out more trees from the dsp and added them as well as the snowflakes.  I got the idea for this card from Kath, a card that I found on Facebook.  

The card would also have been fun to use Cinnamon Cider as the cardstock to match the fox.  Maybe I'll make another Foxy card using that color.


Were these card fun to make?  Oh, yes!  Cut out your playmates and then add them to your cards using the pretty designer paper and coordinating colors.  And guess what else?  You don't even have to make them Christmas cards.  They can be for birthdays and all sorts of other occasions just by changing the sayings.  

I can't wait to make more.  


Color & Contour


 For my cards this week, I chose the stamp set, Color & Contour.  I had seen some pretty samples using it, especially with black and white contrast.  I selected the new designer paper from Sale-a-Bration called Beautifully Penned to pair it with.

I also used the die cuts that coordinate with this stamp set, called Scalloped Contour Dies.  The flowers on the stem cut out well using the die, but the daisy-looking flower is hard to match up so I cut them out by hand.  

I copied the idea of using a jar to put the flowers in from Tammy Capone.  I think they look really sweet in the jar.  

For the two pink cards, I used the new color Polished Pink.  The pink card idea is from Stampin Pretty and the Happy for You card idea is from The Stamp Doc on Pinterest.  I especially like the cards with the gray papers on them the best.

I enjoyed using this set, and may have gotten a bit carried away.  I wanted to try the gray papers with some of the newer colors.  For these two cards, I used Soft Succulent as the main color.  I copied the two-panel card from Stampin Pretty.  


Next up are two cards using the Pale Papaya color in them.  The gingham paper is from the Pansy Petals paper collection.  


Here are the two cards using the Fresh Freesha color.  Which color scheme do you like the best?  

I had so much fun making these cards that I didn't want to stop.  There are so many pretty ways to use them with their coordinating dies.  Have you tried this set yet?

For my stamp class, I will let the ladies choose which 4 cards that they want to make.  I hope that goes well.  LOL


Wednesday, July 28, 2021

A Special Baby Quilt

This is a baby quilt that my daughter started a few months ago for her baby.  She picked out the fabrics from my sewing room stash and sewed charm squares together to make a pretty quilt.  Because she doesn't have a sewing machine at home, she worked on it when she came over to visit.

I helped her cut out the squares and she sewed them together into rows.  She picked out pretty pinks, some old and some new fabrics and some soft teals along with some teal-colored minky fabric.  I like how the colors all blend well together.  

Once the squares were all sewn together, she never got a chance to come and finish it.  So I found a pretty bright pink for the border and finished up the quilt to give to her at the baby shower that I had for her at my house.  I put soft pink minky fabric on the back with no batting in between the layers and quilted it along the edge of each of the rows.  This blankie is SO soft and warm.  I just know the baby will love cuddling up in it.

The special part about this quilt is that we both worked on it together.  My daughter started it and I finished it up for her.  My daughter is not much of a quilter, and that is what makes this little baby quilt so special.  


Sewing at the Campground!

One of the goals that I've had for the past few years is to do some sewing while I'm camping in my RV.  Last summer I finally got to make it happen!  

I camped in my retro RV at a campground in Lake George along the Schroon River not too far from where I live.  Most of the places that I camp are state parks and don't have electricity, but this campground did and my friends and I camped there last fall.  

While I was there I cut out some squares and made this cute little tree wall hanging.  It's a free pattern from the Fat Quarter Shop and I've wanted to make this for a while.  

This is my friend, Tracy who made a patriotic quilt for her mom.  

And Carol, who is finishing up a hand-pieced hexagon quilt that she has been making since I've known her.  Lol

Here is our set-up for sewing.  We sat right along the edge of the river working on our sewing projects.

In this photo, you can see that we are watching a Hallmark movie while we are sewing.  Having electricity while camping sure does make me spoiled!

Here is a photo of the finished project. I used Fig Tree fabrics for my project and love how they coordinated so well.  It was a fun and easy project to make.  Hint: there are more of these to come!


Birthday Thanks to My Friends

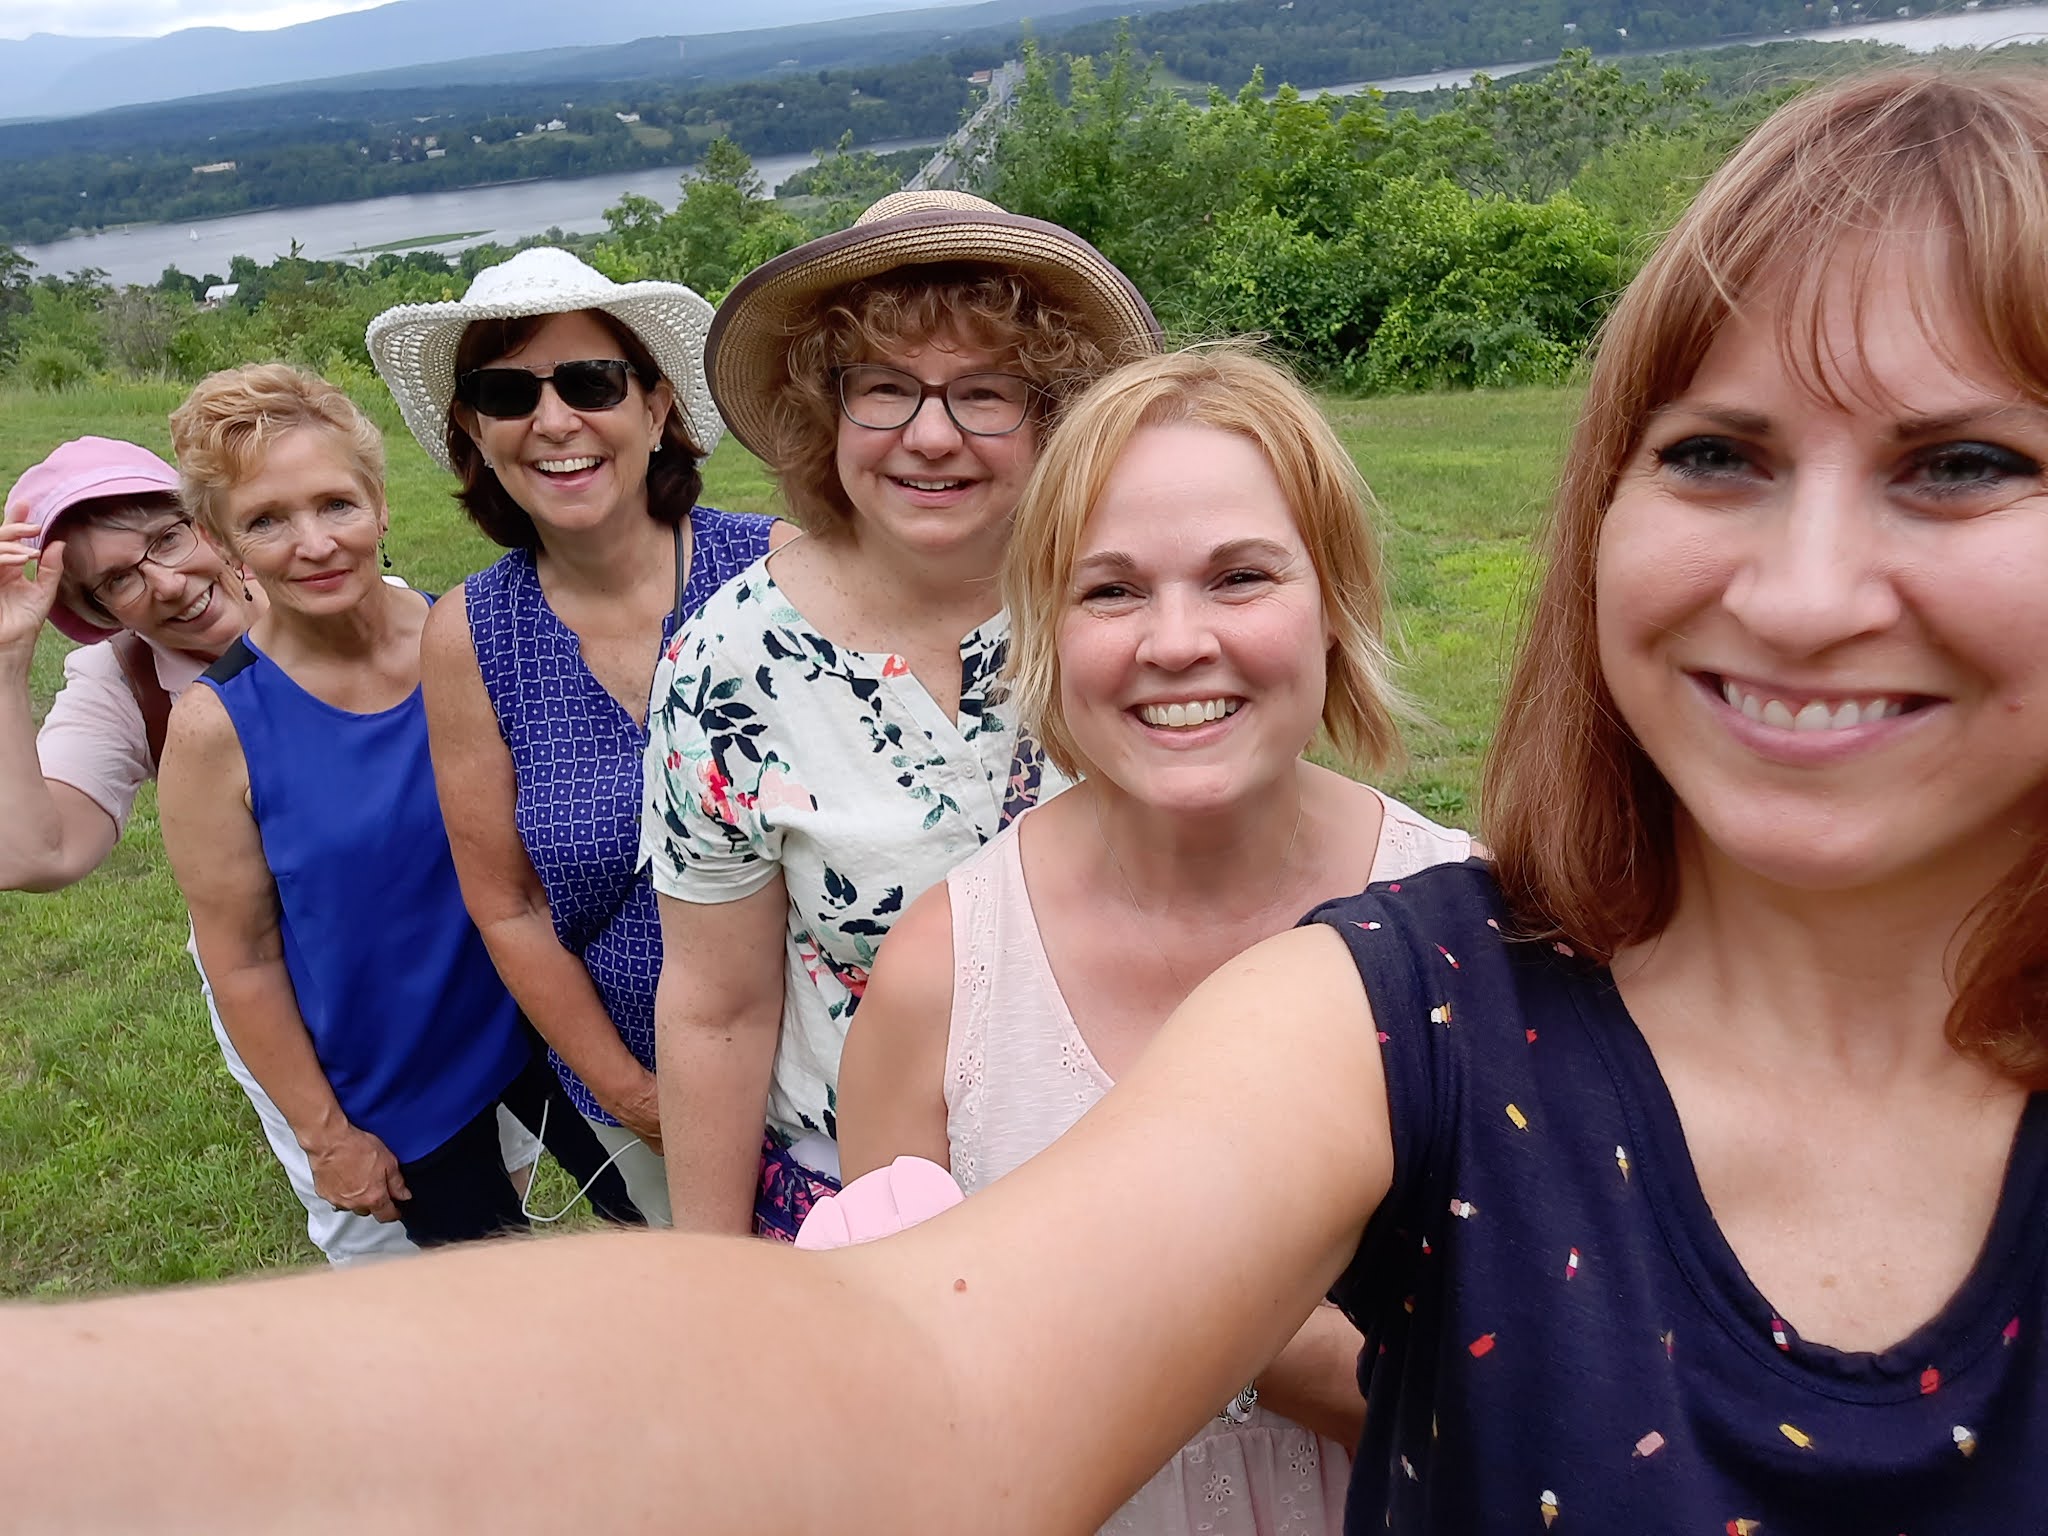
This year I celebrated one of my milestone birthdays at an outing with some of my friends.  We gathered together for the day and went to Olana, a historical home in Hudson set up on a hill along the river.  We toured the home and grounds and had great day together.  If you live near the Hudson River valley and haven't been there yet, you're in for a treat.  We had a great time!

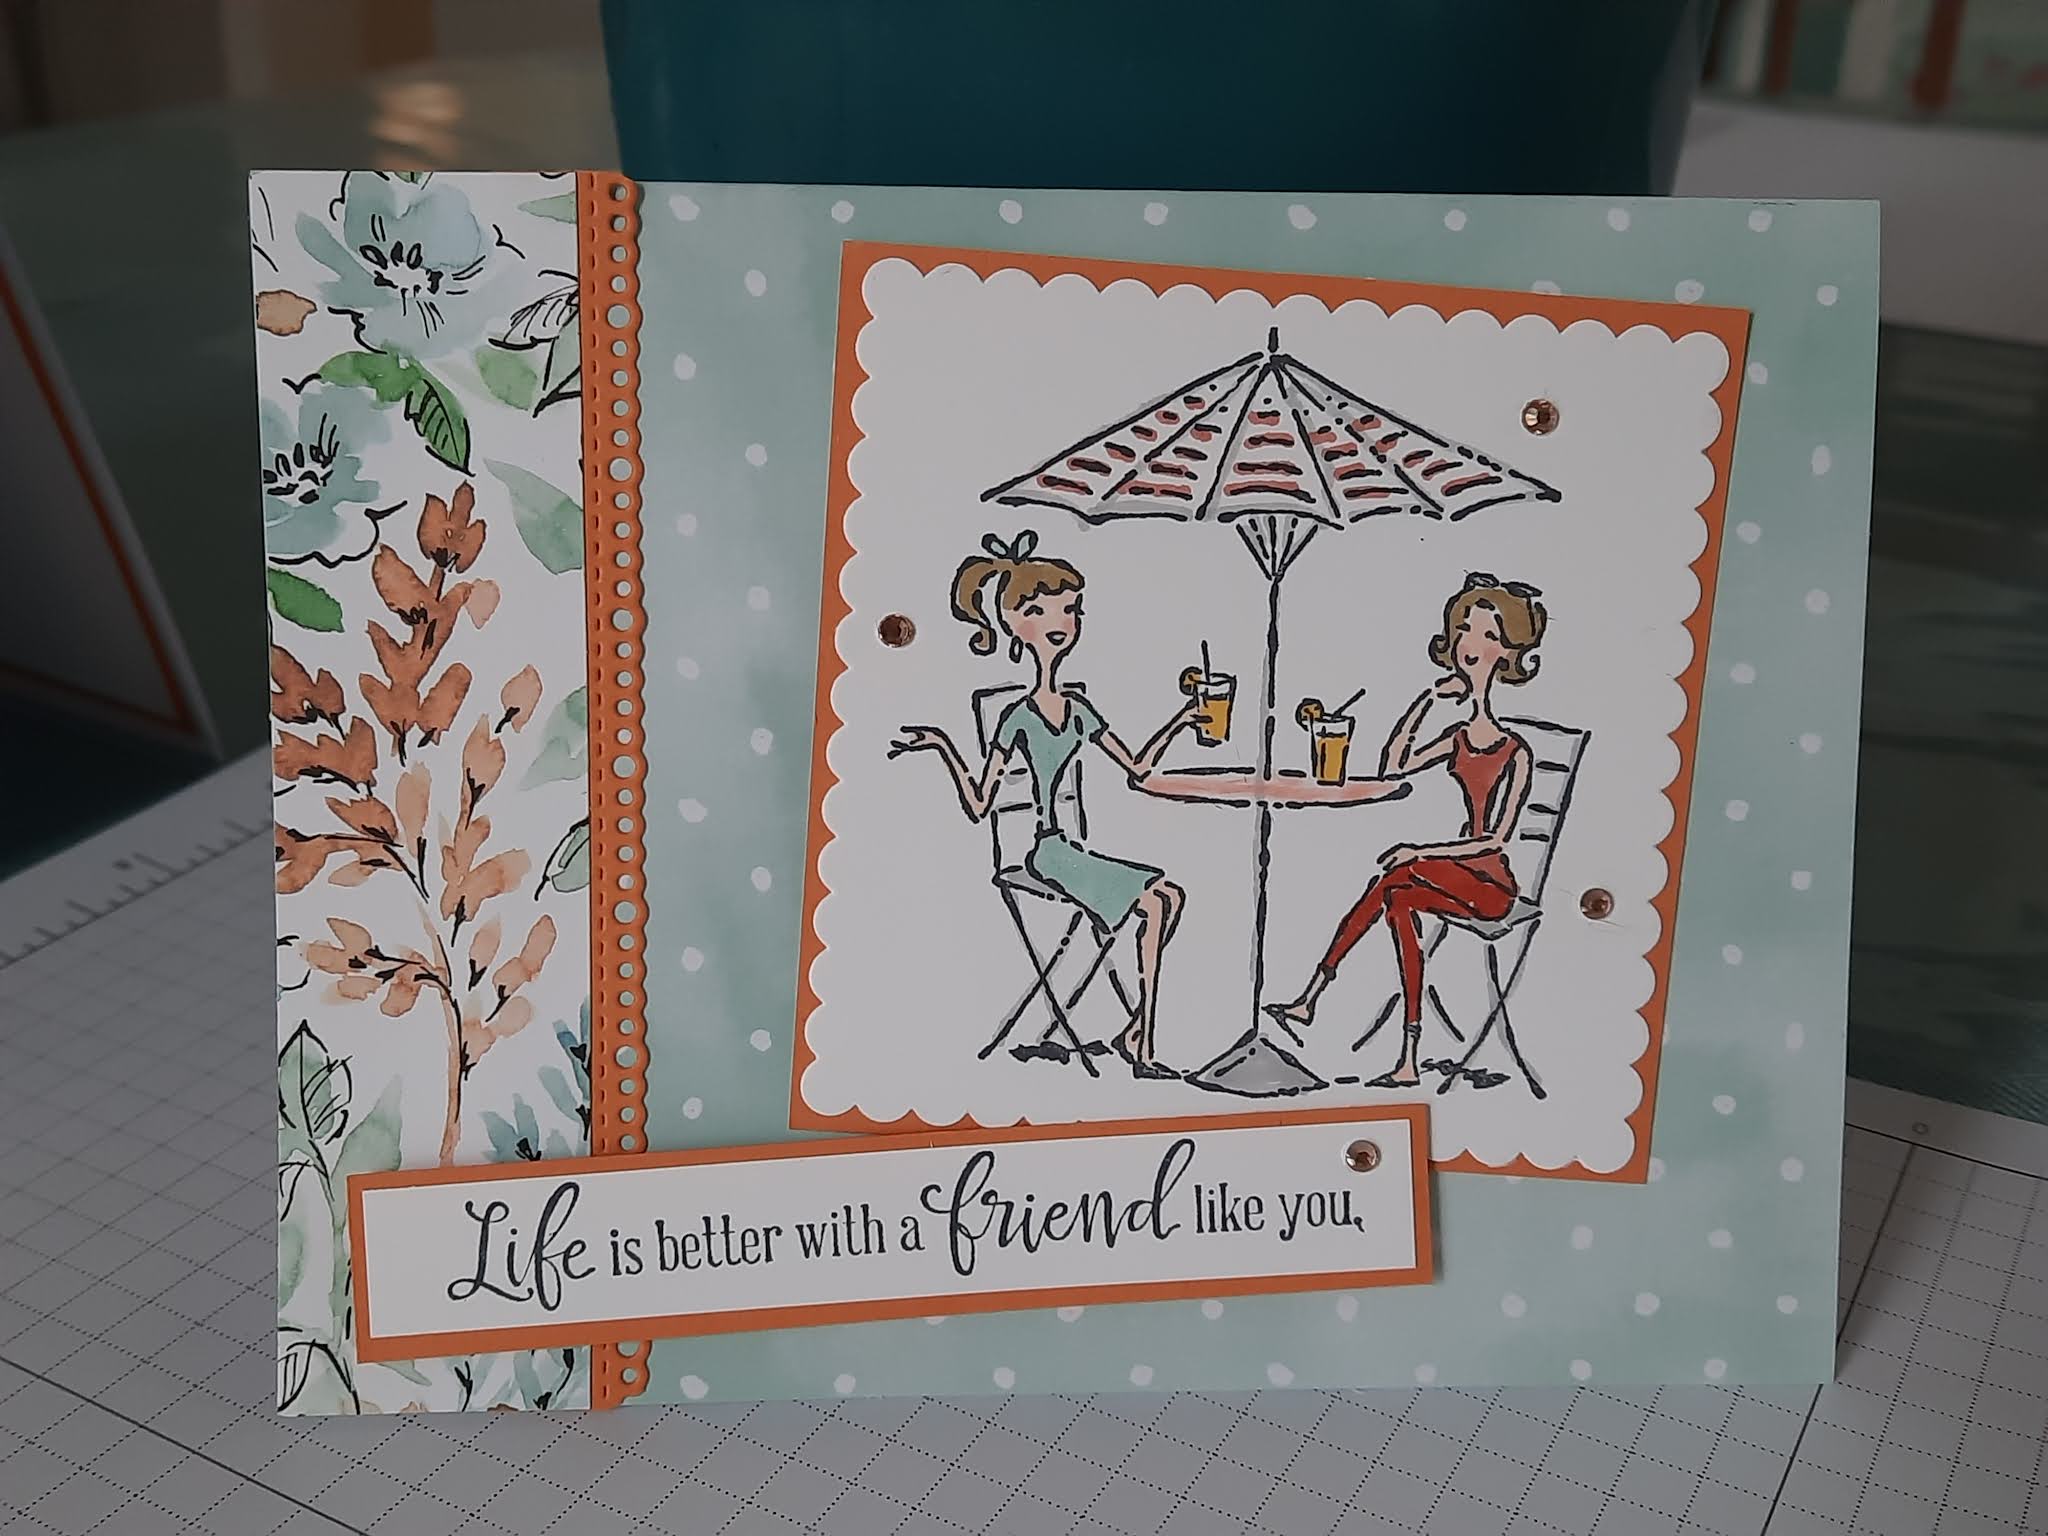
For the Thank You cards, I took out an old set and mixed it with some new things.  I've been a SU demonstrator for 18 years and I have a LOT of stamp sets.  Bur surprisingly, I don't have a lot with women as friends in them.  

I paired this old stamp with some new Hand Penned papers and added the saying, "Life is better with a friend like you."  Seriously, I love how they came out.  

When I made the cards, I only had some scraps of the Hand Penned designer paper leftover from my class.  So I had to use a secondary color scheme to make all of the my cards with.  This time I added some Peach Parfait cardstock instead of Fresh Freesia to complete the cards.  I used the Hand Penned cards and envelopes for the base of the cards.  

I loved using this old set and making it into something "modern."  

Here I am with some of my friends along one of the the trails at Olana.  What a perfect day to celebrate my birthday!


Monday, July 26, 2021

Baby Bibs, Burb Cloths, Blankies & a Baby

If you have been keeping up with my life, I recently became a Nana for the first time.  :)  She's only a few weeks old and I am loving spending time with my new grand daughter.  

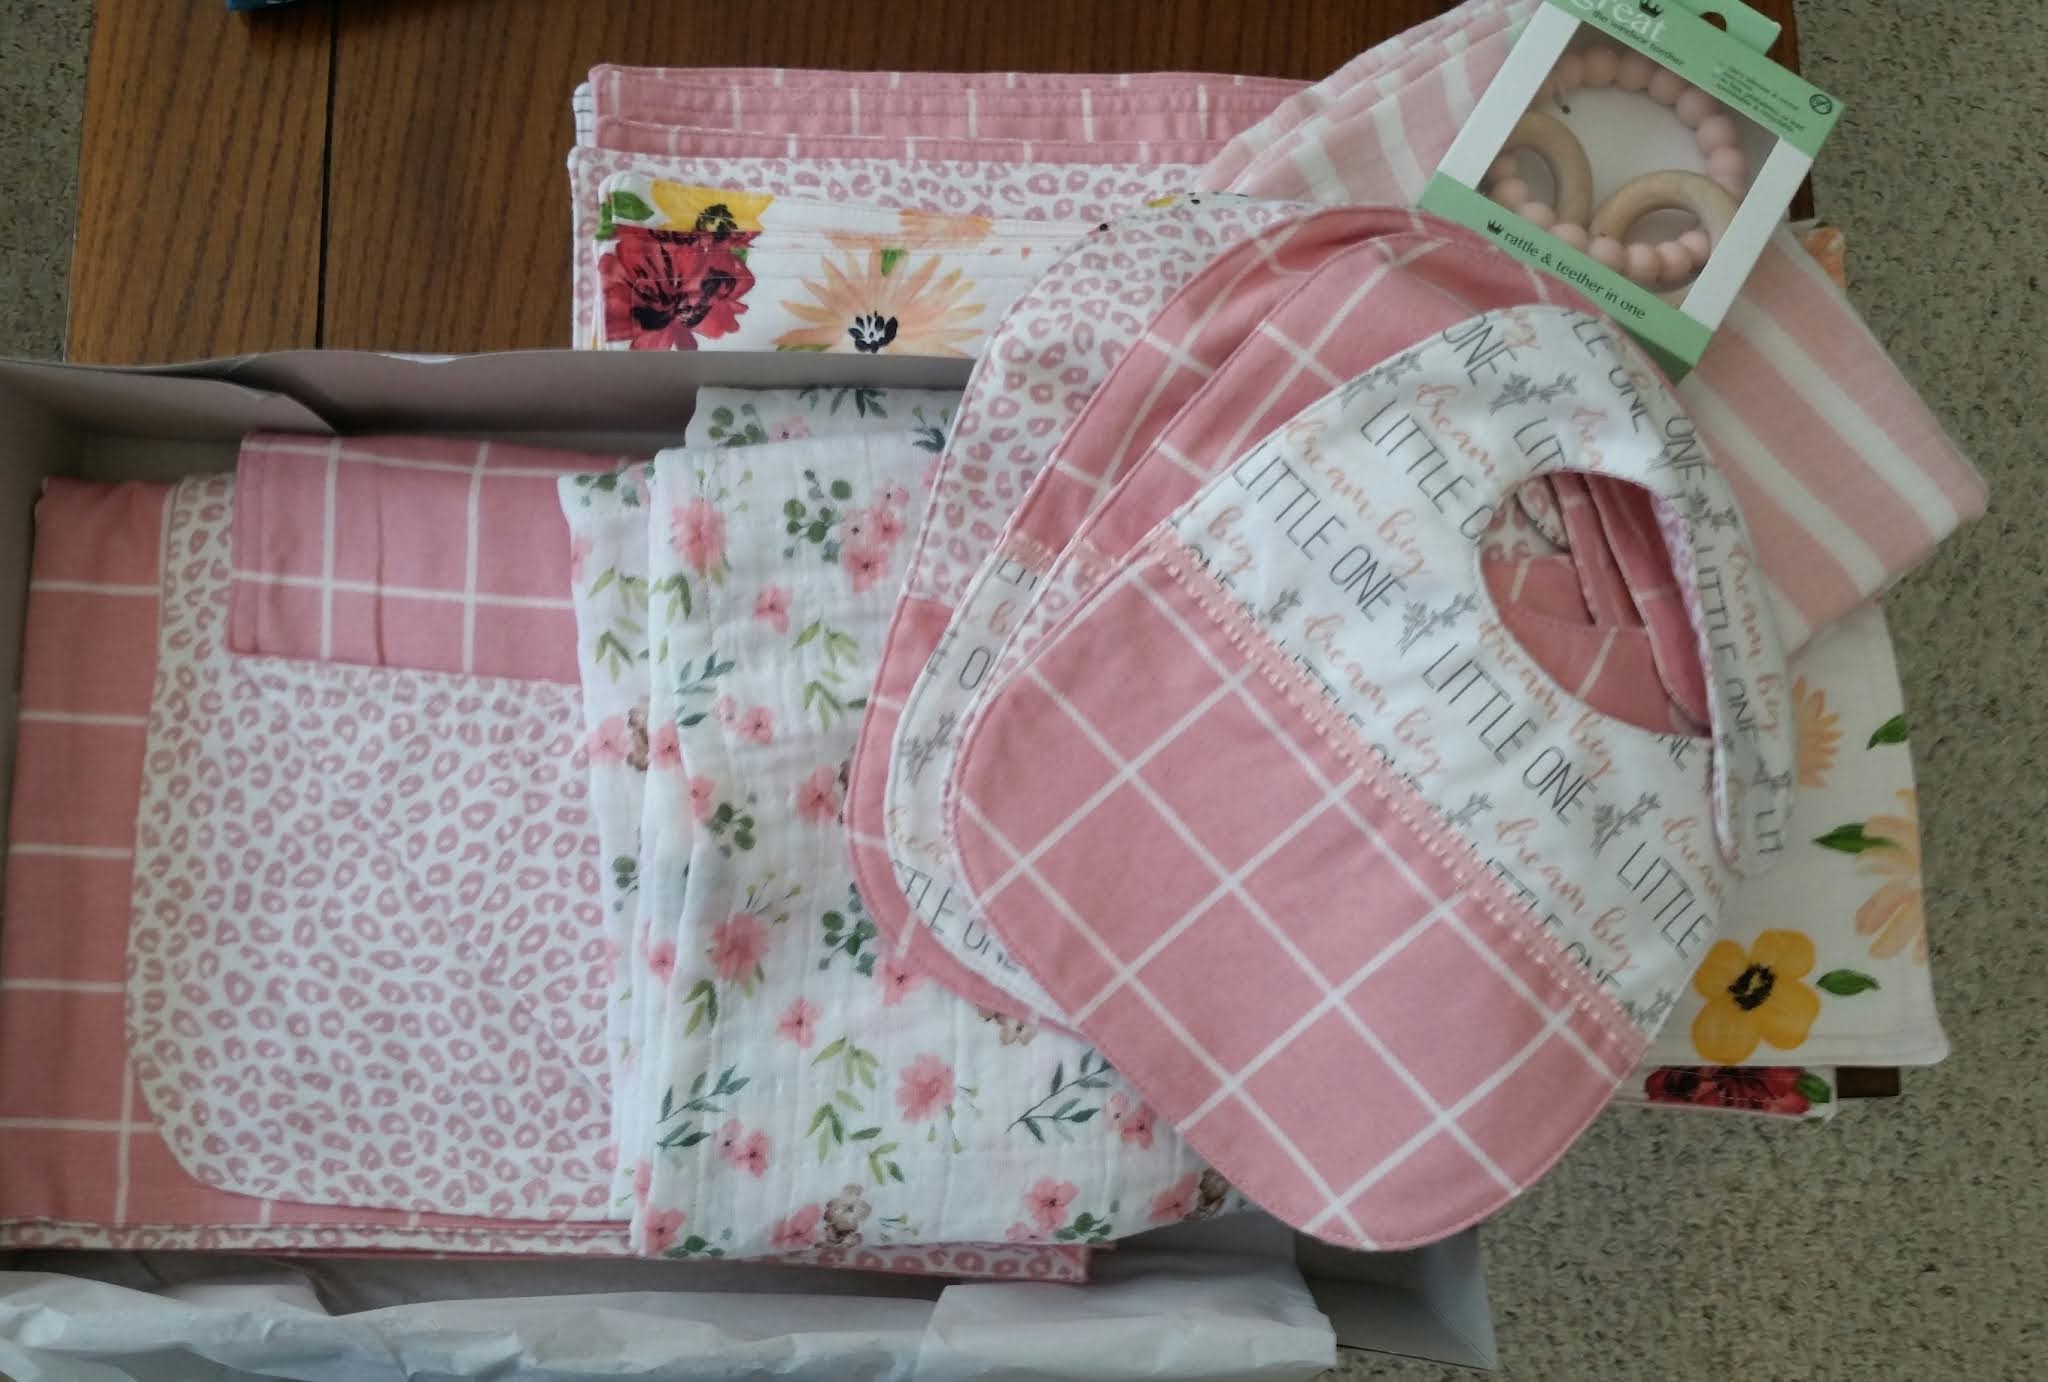
I made my daughter some bibs using flannels and pretty soft colors.  I made up the pattern myself and used Velcro for the attachment.  

One day when I was over a Joann's Fabrics, I found this pretty flowered fabric in different fabrics.  Some of it is flannel and some is cotton.  I also found it in a Minky type fabric, too and knew that I wanted to make something for the new baby with it.  My daughter loves soft colored flowers and I knew that this would make something nice.  

I also made about 10 burp cloths from the flannel to match the bibs.  Then I found more of the gauze fabric and made a couple more receiving blankets with that.  The gauze fabric is nice because it's not too heavy and is just right for wrapping the baby in the summer months.

Using the flannel fabric, I stitched up some flannel receiving blankets, too.  I used a piece of flannel for the back and one for the front, so they are reversible.  I love the soft colors of these items and how well they all coordinate together.  

There's plenty of fabric left over (!) and I hope to make some more items in the upcoming months.  :)

Here she is wrapped in one of the gauze blankies that I made for her.  Maybe someday she will learn to sew with her Nana.  But for today, this is all I need.  


Monday, July 19, 2021

Peaches & Cream

One of the Suites in this year's Stampin Up catalog that caught my eye was the You're A Peach.  It's soft, pretty colors and cute sayings made me want to get it.

For this card I used the scalloped border from the Scallop Contours die set for the bottom of the card.  I put a piece of the coral designer paper on the inside to show through.  Then I embossed the front of the card using the Subtle folder.  I added a thin piece of the pretty papers to the top of the card to give it some color.  I stamped and added the flowers, the peach and the sweet saying, Have a peachy day, mounted onto the die from the Scallop Contours.  Who wouldn't want to receive this cheery card? 


For the Sweet as a Peach card, I embossed a layer of slighter colored cardstock and put some designer paper on the left side of the card.  I added a tag from the Tailor Made Tag dies and embossed the saying in white powders on a circle.  You can also see the mini jam jars that I filled with candies and added a strip of the designer papers along with a tag and a peach.  Peachy goodness all around.  :)

For the next card, I folded the front flap of the card in half, creating a fancy fold card.  I added the focal point to the front of the card using Tear n Tape to hold it in place.  The inside has a white piece of cardstock to write the sentiment on.  I used some Wink of Stella to highlight all of the flowers and peaches on my cards.  


The fourth card features the designer papers with peaches on it.  It's very colorful and happy looking.  I'm really happy how my projects using this set turned out.

For the next time, I may make some cards using this set and switching up the colors.  The flowers would like in other colors, too.  Would getting one of these cards make your day "peachy?"  I think so.