Showing posts with label christmas card. Show all posts

Thursday, December 11, 2025

Hope Your Christmas is Festive and Fun!

For one of my Christmas card classes, I took out the stamp set, Festive and Fun and made some cards with it.  Honestly, the images are just so darn cute.  I haven't had a chance to use them yet, even though I bought them a couple of years ago! 

I had fun coloring and making these cards.  It's the first time that I ever paired Pool Party with Garden Green, but I like the color combination.  

I added a small strip of designer paper to "ground" the two images.  Otherwise, they looked like they were floating on air!  

For the second card, I added a rectangle to the inside panel and folded it so that it covered part of the front of the card.  To open the card, open the rectangle to the right.  The inside of the card looks like a normal card.  It makes a cute fancy fold.

You can kind of see how it opens here.  I strategically placed the rectangle to reveal part of the saying, "May your season."  Then when you open it, you can see the entire saying.  This little rhinoceros pulling a sled of presents is so adorable.  I will definitely be using this cute little set again.

For the third card, I took out some older designer papers called Nests of Winter.  We fussy cut the birds and put a saying on the card.  I love how it turned out.  

What do you think of these Christmas cards?  Which one do you like best?  I love all three.  


Monday, November 14, 2022

Peaceful Deer

This week I made a set of three holiday cards featuring the stamp set, Peaceful Deer.  It does have a nice peaceful feeling about it.  Lol.  For my first card, I used Tranquil Tide for the cardstock and added a cut out shape from Seasonal Labels dies.  I used the paper from the summer Sale-a-Bration and a piece of the cork paper for the focal point.  Then I added some cut out trees, one from sparkly paper and the other set from printed vellum that I painted onto using the Stamping Blends.  

I added an extra tree and the little deer to the bottom edge of the card.  The idea for this card is from Laura Seki.

For my next "deer" card, I stamped the trees onto Gray Granite cardstock for the background layer.  Then I added another layer of vellum on which I heat embossed some snowflakes.  I added the cut out trees and a couple of "peaceful" deer.  The card has a nice serene look to it.  This idea came from Stacy Marsh.  


For my third card, I stamped and colored in the two deer using watercolor pencils and a dab of water.  I added the spots for the fawn using craft paint on the end of the stylus.  I copied this idea from Madeleine Mrotzek.  

I embossed the white background layer using the Timeworn embossing folding and added a couple of cut out snowflakes.  The tag is from Tailor Made Tags set.  And finally the swirl is an old cut out from Swirly Birds.

I love the gentle look of this card.  And one of the saying that goes with this set is, "Wishing you a wonderful year and friendships dear."  It's a great one for the inside of any deer card!  


I love how all three of the cards came out.  You could use these cards not just for Christmas, but for winter and all occasion cards.  I hope to use this set again, especially when I'm making cards for my "dear" friends.  :)


Tuesday, November 23, 2021

Painted Christmas Suite

The first set that really caught my eye in the holiday catalog was the Painted Christmas suite.  It has so many possibilities!  Here is my first card for this class.

I got the idea for this card from Debra Barlow.  It has a white embossed background (hard to see in the photo) and a cut out from the light green paper in the set of products.  Then I stamped and cut out some of the images and added them to the front of my card.  It has such a soft, sweet look to it.  

In this photo, you can see the little green paper in the background a little bit better.  The embossing folder is the new Timeworn type, which is so nice.


This next card is a fancy fold that I learned to make from Wendy Cranford.  It's a step card and you can tuck images in front of or behind the layers for a great card.  

I cut and scored the cards for my class and we added the Painted Christmas papers to it, the images from Christmas season and the saying from Christmas to Remember.  

I love the font and the sayings from this word set.  I can see using this for so many Christmases to come.


Don't they look beautiful together?

The next card is also a fancy fold.  I got the idea for this from Rachel Tessman.   It uses the same designer papers and images and yet is so different.  The candy favor idea is from Wendy Smith.  I met her at her Stampin Up booth at the Big E in Massachusetts this fall.

I love how these cards all came together.  What a great suite to work with!  


Wednesday, January 8, 2020

Elfie

I love using sweet whimsical images for the stamping cards and projects.  For these projects I used a new Christmas stamps set called Elfie.  Isn't he just the cutest?

Sometimes it's fun to make Christmas cards in colors other than red and green.  One day on Pinterest I found this cute card made by Angie Juda on her blog, Chick n Scratch.  For the most part, I copied all of her ideas; they are so sweet and I love the silver and teal colors that she used.  I'll put the link at the bottom so that you can make them, too.

This card is a gate fold card and opens in the middle of the front.  It's fairly easy to make and offers a different way for the card to open.  I colored Elfie with Stamping Blends and added some rhinestones to embellish the card. 

Here is what the card looks like from the inside.

This next "card" is also a gift card holder.  The front is supposed to look like a present.  When you open it, you will find an 3" envelope to hold the gift card.

How cute is that?  You could even put money in the envelope and give as a gift. 

Lastly up I made this cute little favor.  It will only hold a small amount of candy, but sometimes that's all you need.  You can watch Angie's videos here on her youtube


Monday, October 31, 2016

Okay, I'll Start on Christmas!


 Some of you know that I resist making Christmas cards and projects in Aug, Sept and Oct.  But I've finally given in and taken out some Christmas stamps and papers!  My holiday classes have begun.

I used the new oval framelits to accent the saying on the card and on the gift bag.  I just love how the scallop oval frames the sayings.  I think it adds a lot of class to the projects. 

I love the little grapevine ornament!  I got the idea from the Stampin Up holiday catalog.  It's hard to see in the photo, but I put the musical note designer paper inside the wreath to give it a slight vintage look.  I used a circle punch for the circle shape and a glue gun to adhere it to the wreath.  The rest of the embellishments are held with assorted sized glue dots. 

The gift bag can be used to hold a cookie, a gift card or a note.  You could also put some cash in there for a special recipient.  Pretty much, anything small can go in it.  :)

I wasn't sure if I liked the card in the off-white colors, so I re-made the projects using white cardstock.  Usually I'm not a big fan of the vanilla, but this time I do like it better than the white. 

I used the stamp set, Peace this Christmas and got my ideas on Pinterest from Jennifer Frost.

Which do you prefer, the card and ornament made with the vanilla or do you like it in the white?

Saturday, November 29, 2014

Christmas Wishes

Today I am finishing up some Christmas cards to send to the seven missionary families that my church supports.  Every one in the congregation is asked to fill out a card for each of families and drop it in a box labeled to each of them.  Next week the church will send the box of greetings out to the different countries where they are living.  What a great way for them to feel remembered and loved during the Christmas season!

 I made this card last month for one of my classes and really like the colors and the peaceful saying.  So I chose this card to make and send to the families. (It was designed by Dawn Olchefski.)

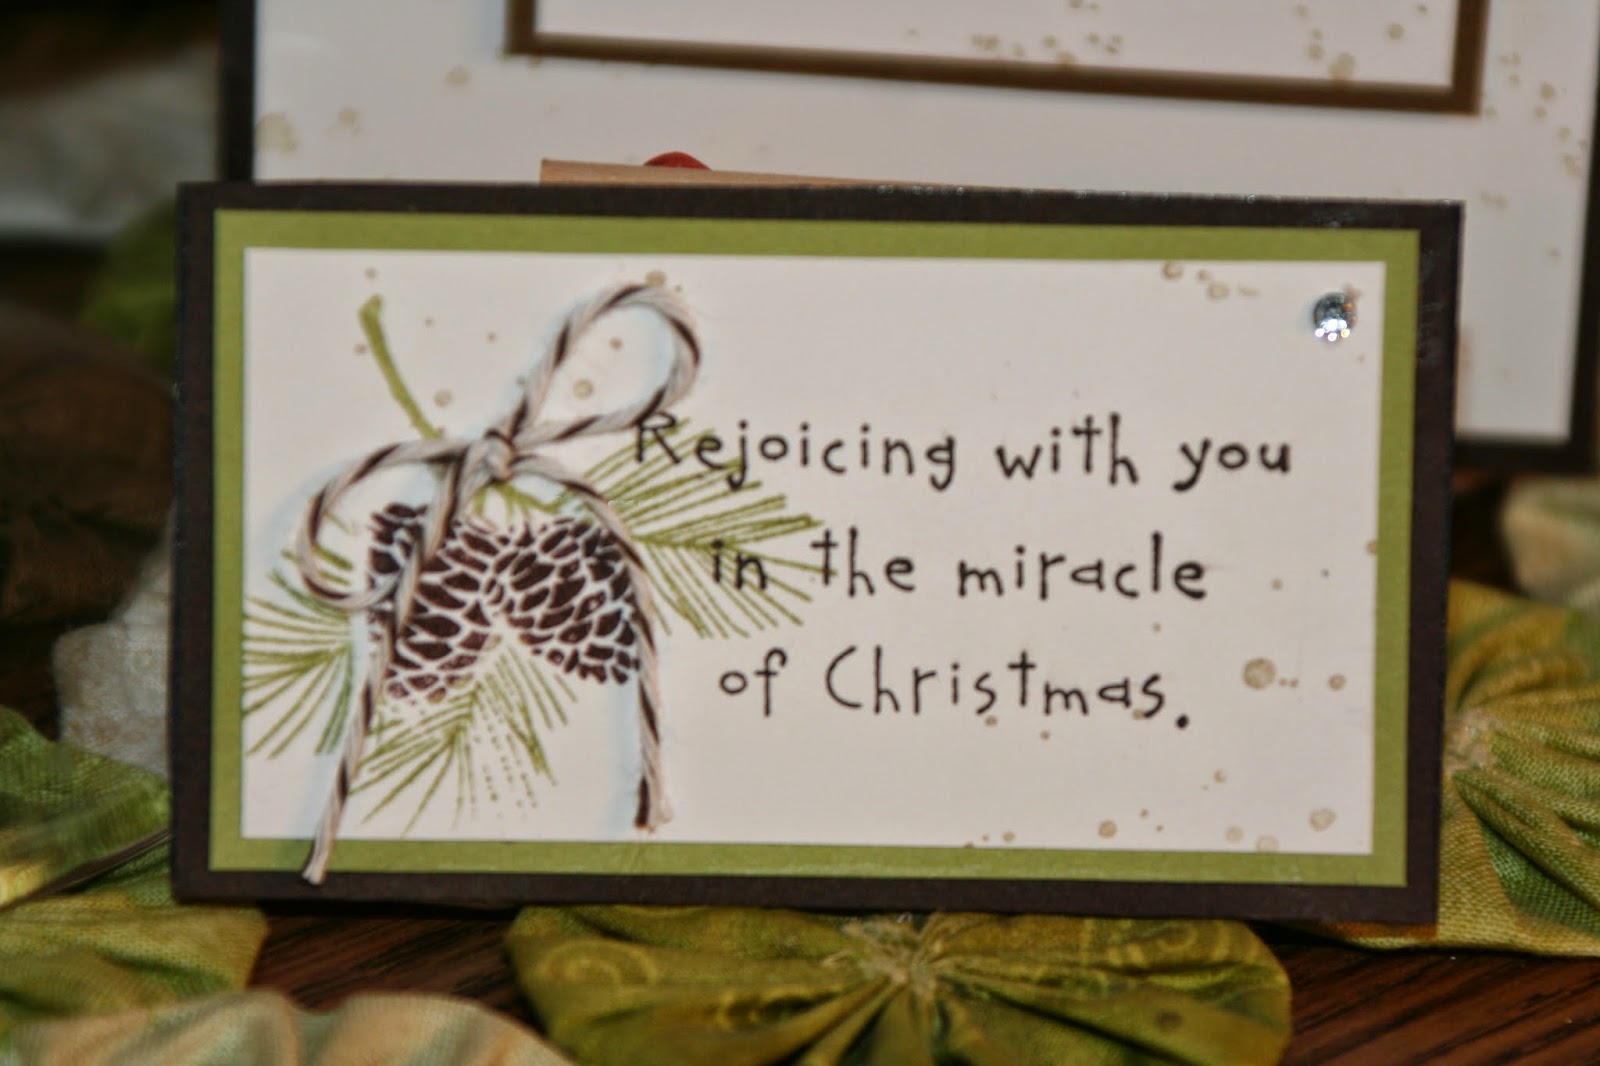
Here is the magnet that I made to match the cards.  I decided to keep the same colors and theme going.

I pray and hope that the missionary families are blessed by their boxes of holiday greetings!

How about you, can you think of someone outside of your close family and friends that would love to receive a card? 


Wednesday, November 12, 2014

Christmas Frame

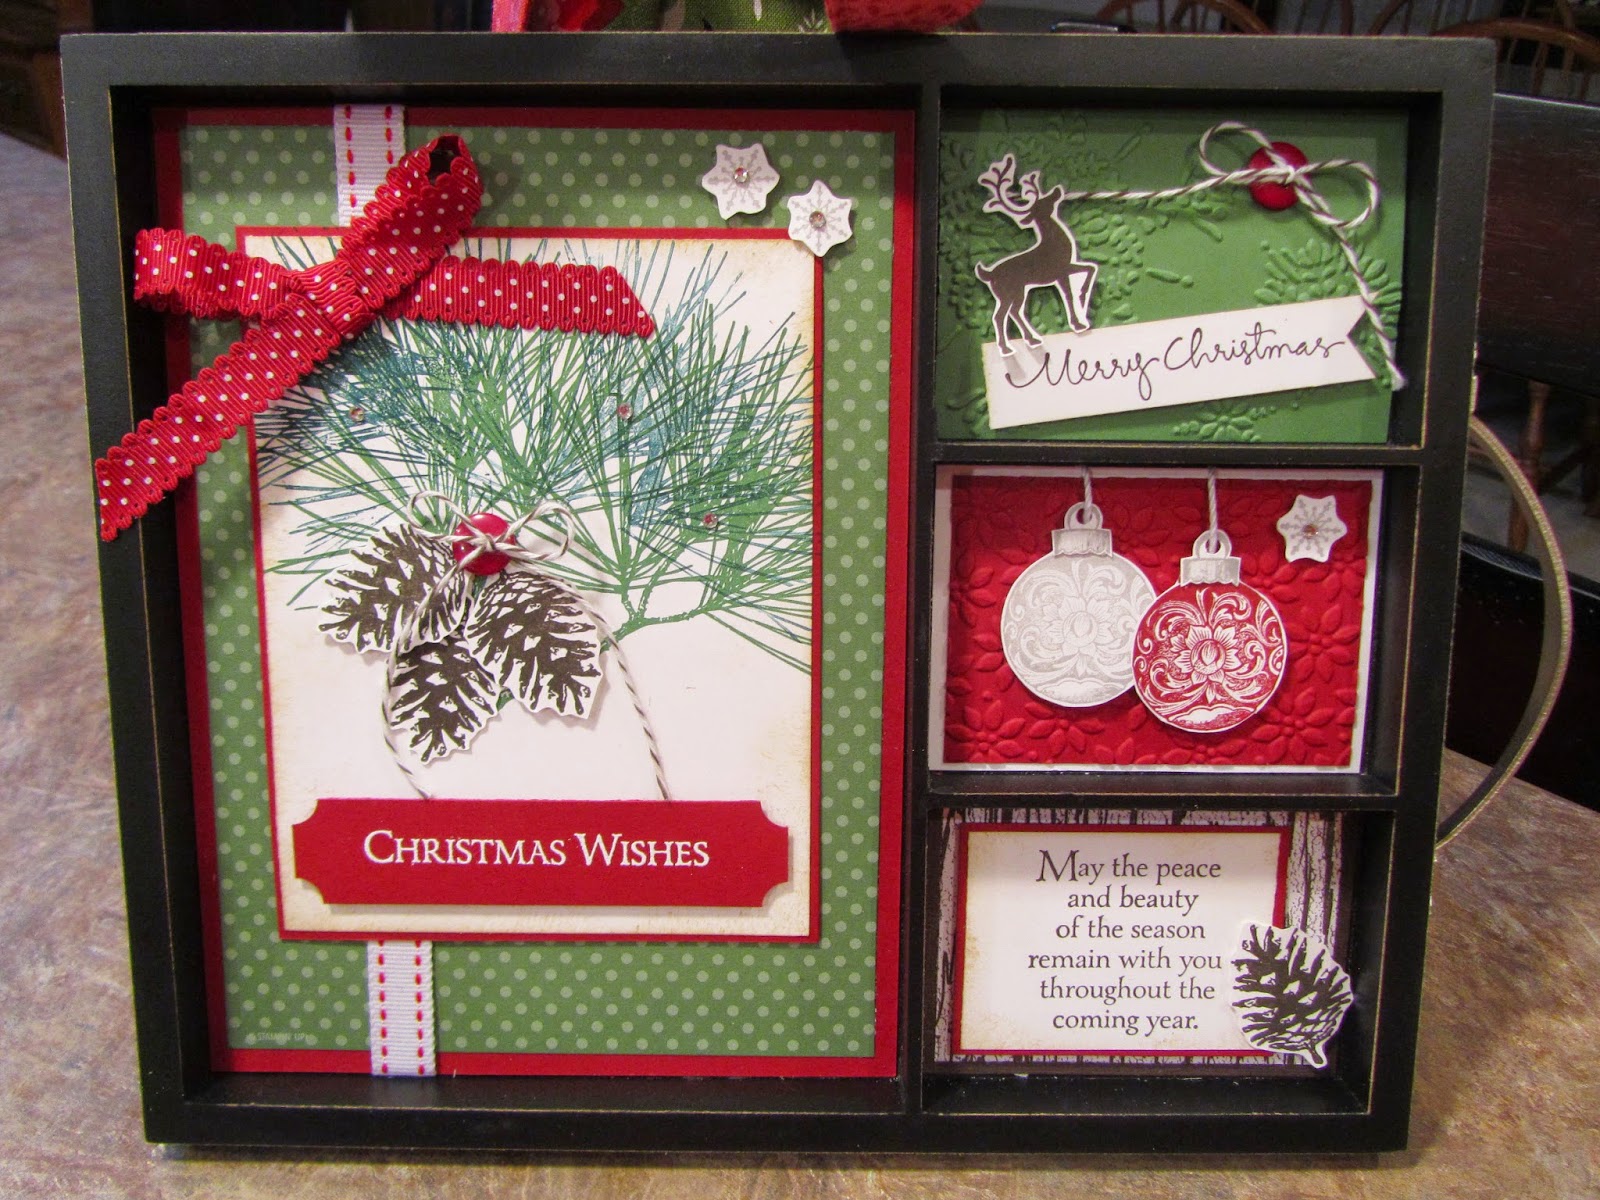
Remember all of those frames that I bought from Hobby Lobby last summer?  Well, I am finally using them!  I worked on this design today for a Christmas frame class.  We have been using the stamp set, Ornamental Pine a lot lately and it works up so nicely for the frames.

For the focal point, I started with the pines.  I stamped them in two different greens to give the pines some dimension.  The Christmas Wishes sign is embossed with white to make it stand out and the pinecones are raised using stamping dimensionals.  I saw the card idea on Pinterest by stampwithbrian.com and just added embellishments to turn it into a decorative frame.  

I love the saying that comes with set.  I think this is one of my favorite stamp sets from the holiday catalog.

I even added the little deer from one of last year's hostess sets to go along with the woodland look. Lastly I added some rhinestones to give the tree boughs and snowflakes some "sparkle."

What would you put in the frame for Christmas decor?