Showing posts with label nest fabric. Show all posts

Friday, February 28, 2025

Patchwork Topper for the Kitchen


 Yesterday I finished a small patchwork table/counter topper for my kitchen.  I cut out and sewed 2 1/2" squares that I had left over from the table runner that I made last month.  I fussy cut a couple of birds squares from the fabric to give it some interest.  It looks great in the kitchen and coordinates with the table runner.

Remember this?  I had finished it last month at my sewing retreat.  When I go on my retreats, I like to bring at least one small project so that I had something finished when I get home.  They both look nice in the kitchen.  My old table runner was getting stained and it was time for something new!

It looks bright and fresh for spring.  

Monday, January 20, 2025

Winter Sewing Retreat

Winter is a great time to catch up on your sewing projects.  Every January I go on a Quilt Retreat with some ladies from my quilt group.  This year we had 17 women who attended.  Here is a photo of me finishing up a table runner that I made for the kitchen island.

After I put away all of the Christmas decorations this year, I thought that the house looked bare.  I wanted to make a new table runner for the kitchen in some blues, greens and grays.  

I cut up some of my "Next" fabrics into 2 1/2" squares and put this together while I was on my retreat.  I think it looks pretty good in the kitchen.

I would have used a dark teal or blue for the borders but I didn't bring a lot of fabrics with me on the retreat.  I had some dark gray and I ended up using this.  

I like the look of it; it's a little darker than what I would normally make, but it works.  


Here is a closer look at the fabrics.  I fussy cut some birds and their nests to give it some interest.  I still have a bit of the Nest fabric left, but I'm sad to say that it is almost all used up.  


I roomed with  my friend, Linda, and we usually spend some time outdoors over the weekend.  The retreat center is near the Vermont hills and it's very nice there.

But this year it was too cold and windy to go out.  It snowed on Sunday, but we left a little early to beat the snow.

Here is Linda making some cute fabric baskets as gifts.  She was using some Christmas fabrics and catching up on things she didn't finish before Christmas.

I'm so grateful for our friendship and how she puts up with my silly shenanigans.  We had so much fun.  


Another project that I finished was this maple leaf wall hanging.  I had started it a couple of years ago but wondered why I didn't add any fall colors to it beside orange.  At the retreat I added the brown border, a green border and another neutral border.  I think this added some color and interest to the wall hanging.  I quilted straight lines in the leaf and small free-motion stippling in the neutral area.

I am happy that I didn't throw it away, because I actually like how it turned out.  I added a brown border to finish it.

I think I will add some fall colored buttons to it to give it more color and add some interest.  Although I didn't get a lot accomplished at the retreat, I had a wonderful weekend with my quilting guild friends.  :)


Tuesday, April 21, 2020

Mini Charm Star Wall Hanging


I've been wanting to make this wall hanging for about 2 years now.  I first saw this pattern in Pat Sloan's "Learn to Machine Quilt" book and really it.  I started this in January at my quilt retreat and today I am so happy that it is finally finished! 

For this project I used a lot of fabrics from the "Nest" collection.  I love these colors and they seem to go so well with my decor.  If you look closely, you can see a couple of the birds that I put in there to give it some visual interest.  :)

It seems like I did more ripping out seams than sewing in this project, but I'm really happy with how it turned out.  I didn't read the pattern very closely and had some issues with fitting the outer edges of the star to the inner squares.  But with the help of one of my quilty friends, I finally got it to work!


Here it is hanging on the wall in my family room.  I love how the colors coordinate with the room.  Thank you, Pat, for such a great pattern! 

Here is a pic me working on the quilt this week with my "helper" Ginger.  Today she sat on it while I hand sewed the binding onto it.  She gives her approval.  :)

Monday, April 20, 2020

Star Table Topper

I've been home from work for 5 weeks now and I'm going through all of the unfinished projects and working on them.  I haven't even started anything new yet and that's a biggie for me!

Today I finished this Star Table Topper that I started in January.  I am making a Star Wall Hanging from Pat Sloan that's called Mini Charm Star and I had some problems getting the center piece to fit with the star points.  This is one of the "rejects" that I had made and just added a plain center piece to make it fit.  I decided to finish it and make it a table topper. 

I finished it today and I actually like how it looks on the table.  I put my basket of felted hearts on it and well-ah - I love how it looks.  :)

Have you ever made a mistake on a project and then turned it into something else that you liked?

Wednesday, January 8, 2020

Snowman Wall Hanging Gets an Updated Look

If you've ever been to my house, you know that I love to make all kinds of craft items.  I sew, stamp, I crochet, make soaps, jewelry, paint things and much more.  I mostly just go from room to room making things!  And I love having my friends come over to craft with me. 

This week I worked on making a Snowman Wall Hanging with a couple of my crafty friends.  I had made this pattern years ago with country colors, but I thought that he needed an updated look.

Here is the original wall hanging that I have been using at Christmas time to decorate with.  It's an old Pieces of My Heart pattern that I've had for years.  So I took it out and reworked some of the colors to match my current decor.

He's not hard to make, mostly using charm squares cut in half or 2 1/2" x 5" pieces.  I had a hard time at the beginning trying to decide on the color scheme and kept cutting out more and more colors for my snowman.

At one point, he even had some green in the color scheme.  After disassembling the snowman a few times to replace the colors, I decided that he needed a longer brim on his hat so that a little bird could sit on it.  I widened the brow and finally narrowed down the colors.  I mostly used colors from the fabric line called Nest.  It came out a couple of years ago but I still have a lot of the fabric.


His finished look now has a little wooden bird, a felt scarf and some bright shiny buttons on his body.  I even found a snowflake button that I sewed onto his hat.  I worked on him, changing up the colors for 4 days but I'm happy with how he finally turned out.  What do you think of his new colors?

Saturday, March 16, 2019

Quilt #2: The Nesting Quilt

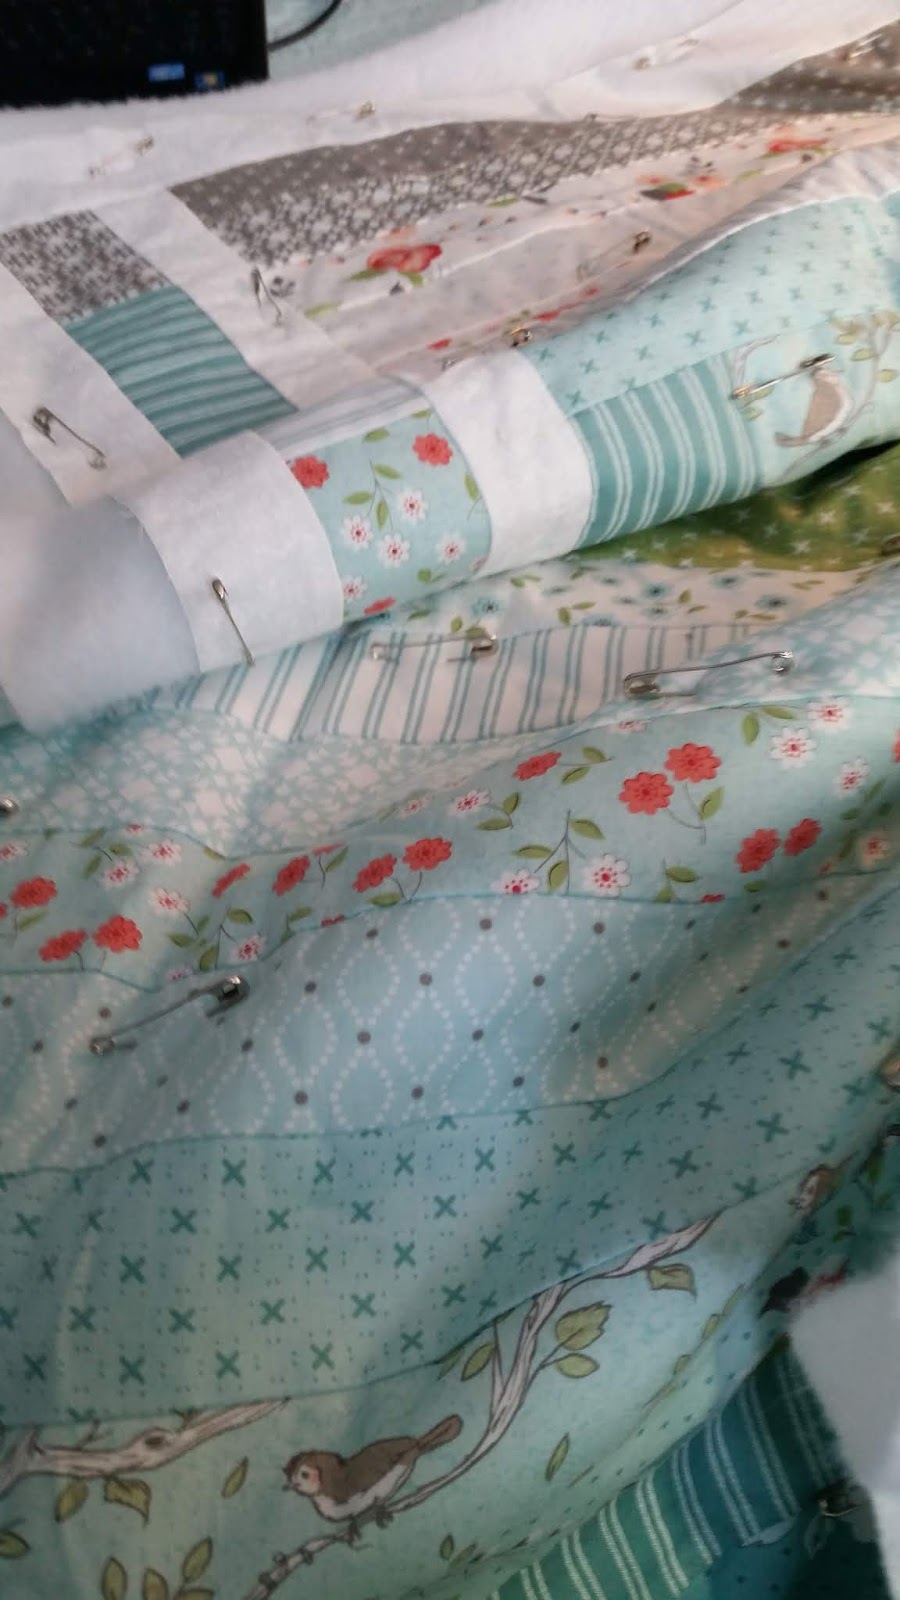
First off, I have to say that I just love this quilt!  I love the simplicity of it, the colors, the fabrics, the size, etc.  The fabric line is from Moda and it's called, "Nest."  It has images of little birds in their nests with pretty coordinating fabrics in teal, gray and coral colors.  And it's just the right size to have as a throw when you want to snuggle up on the couch watching a move or relaxing.

I started this quilt about 6 months ago when I got the "Nest" fabric jelly roll from the Fat Quarter Shop.  I have always wanted to make a jelly roll quilt and I was surprised at how easy it was to make.  While I was sewing together the strips from the jelly roll, I added some charm squares in one of the rows to give it some visual interest.  

I added a pieced strip border on the sides to make it just a little bit wider than the 45" width of the fabric strips.  It was fun, easy and I just love it.  I plan on keeping it for myself, although a lot of my friends have told me that they would just love it, too!

The fabrics in this quilt match the heart wall-hanging that I made for my daughter for Christmas.  I still have some fabric left over, so you might see something else made with these beautiful fabrics in the future.

This is the heart mini quilt that is made from the same fabrics.  

Finally, a quilt just for me!  :)  


Friday, February 1, 2019

Heart Quilt

Ah, the holidays are over and I'm so glad to begin a new year!  This year my goal is to sew, sew, sew!  I have a lot of quilts and other sewing projects that have been lying around and it's time to finish them up and move them along.  For real. :)

I made this cute little wall hanging for my daughter for Christmas.  Her favorite colors are teal and coral, so I used a fabric line called, Nest, for my project.  It has the sweetest little images in it!

Look at the birds and nests - so sweet!  I definitely want to use this fabric collection again. 

I found the layout on Pinterest from Robert Kaufman fabrics (link is here) and started cutting 2 1/2" squares from my jelly roll.  It took some time to cut the squares and arrange the colors, but once I was done with that, I numbered them and took them into my sewing room to sew them all together. 

The sewing took longer than I thought that it would - although it's a relatively small quilt, there are over 100 little squares to sew together!

Then I put on a white border and finished it off with a teal binding.  And yes, it was actually done before Christmas!  (Christmas Eve, but who's counting)

It's about 26" square- just the perfect size to hang on the wall or use as table topper - my kind of project (the kind that you can finish - LOL!).