I'm a little behind on posting my Christmas projects this year. The stamp set and papers that I loved the most from Stampin Up's holiday catalog was the Let It Snow suite. The snowman with the punch is just the cutest little man ever! I decided to do a class with some fancy fold snowman cards using the Snowman Season stamp set.
For the first card, I folded the cardstock like you normally would and then cut it at 2" from the top. Then I cut the remaining piece into a 2" strip for the bottom. I added the designer paper to the two pieces and then added the red snowman center to hold them together.
This leaves a gap in the middle of the card, but it has a nice look to it. On the inside, you have to be careful where you write your saying, or it will show on the front of the card. I got this idea from Cathy Krylowitz, one of my fellow demonstrators.
The next card is cut on the diagonal and the bottom piece opens to the side and the top piece opens up. It has an interesting look to it. Before you cut your cardstock into 2 pieces to make your two card bases, cut the cardstock on the diagonal. Then fold each diagonal piece in toward the center.
You'll see where to put the white piece for the inside. Then add your designer paper and snowman for the focal point. I've seen this card on Pinterest before, but I got the idea from another of my demonstrator friends Pat Clow.
Card #3 looks fairly easy on the front, but it has a special surprise on the inside!
When you open up the card, the snowman pops up!
He almost appears to be "floating" on the inside of the card, but he is actually attached with a strip of clear window sheet. You can make this card using any small image. I got the idea from Julie Davison for the inside of the card. Check out her site at: http://juliedavison.blogspot.com/2015/06/video-pdf-half-circle-pop-up-card.html to make this card.
The outside of the card idea is from Jennie M Stamping Spot.
Lastly we made this cute snowman box for candy goodies or small gift items. I got the idea for this from Angie at Chic'n'Scratch. You can make it by watching her video here.
It's fun to try new fancy folds. Which one would you like to try?
Wednesday, January 8, 2020
Sunday, January 5, 2020
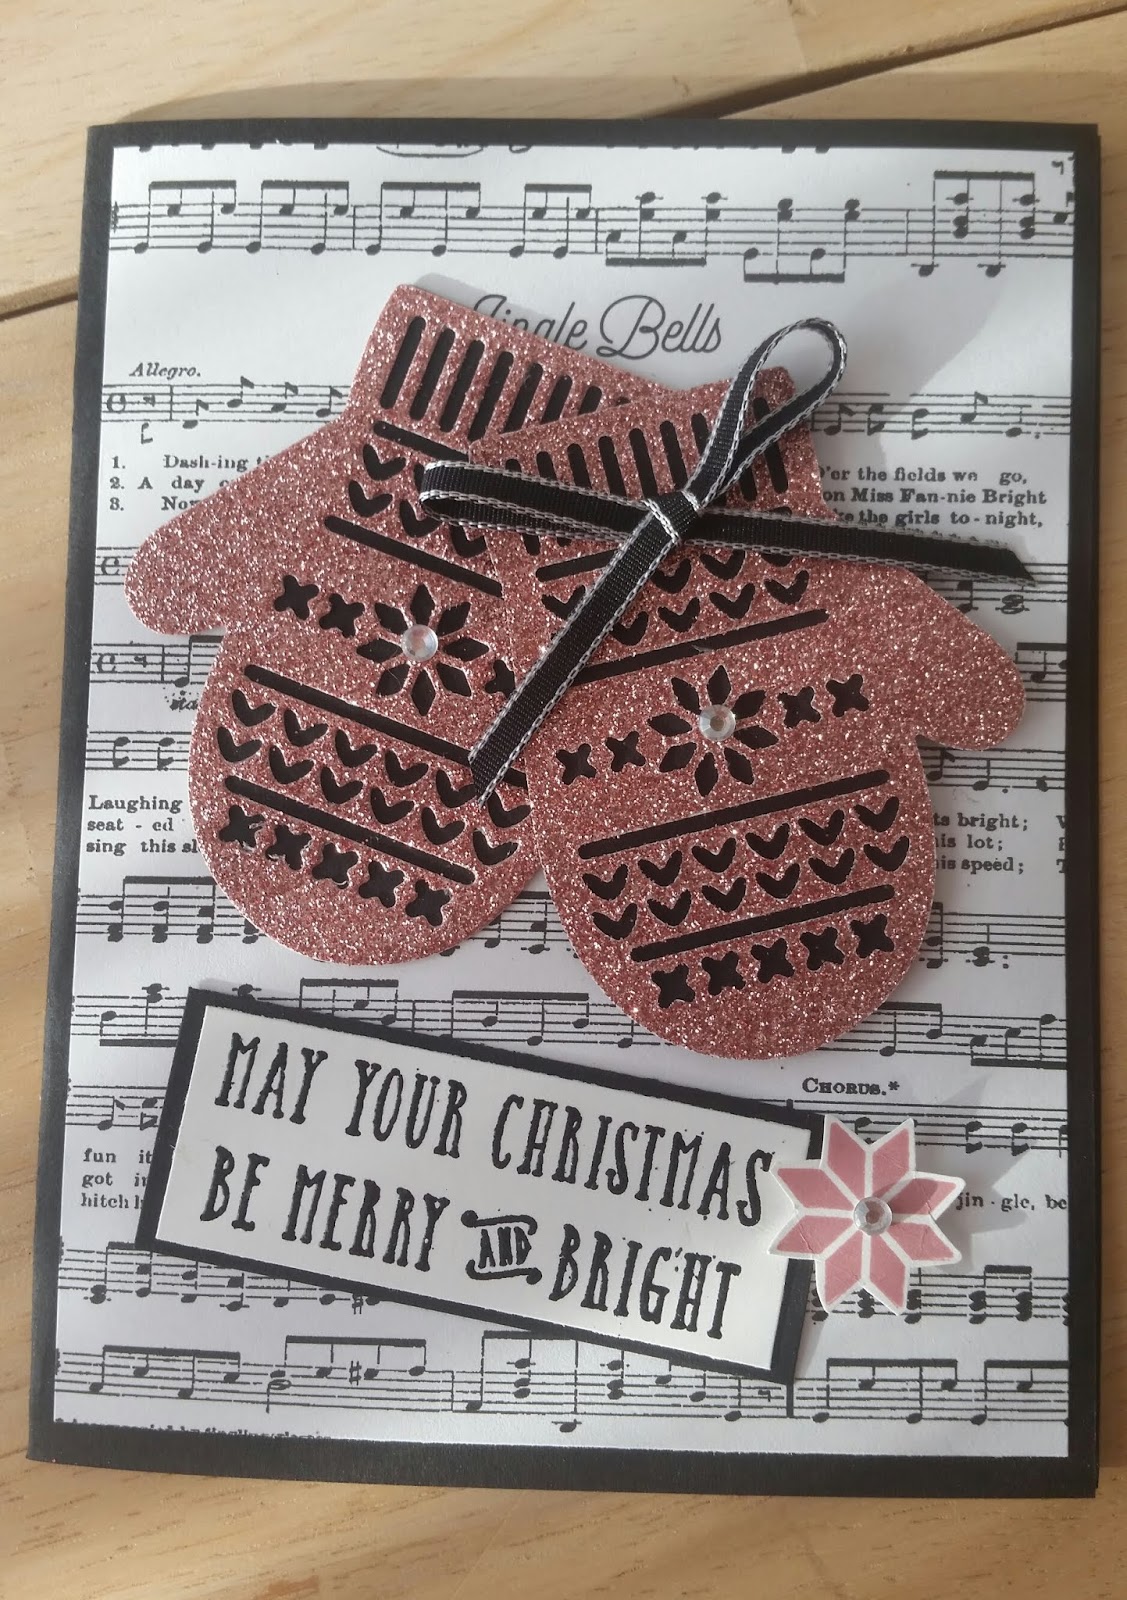
Cute Mitten Cards with Card Holder
I just love the colors and the papers in the Let It Snow suite! They're so bright and happy looking. :)
For this project, I made a card holder that holds about 4 cards. I used an older Mitten die and a snowflake embossing folder for these cards.
I love how the mitten die cuts look with the cute mitten designer paper!
Here you can see the inside of the card holder. To make it, I folded a sheet of cardstock in half, scored 1/8" along both sides of the middle, and then scored 2 1/2" along the bottom for the card flaps. I cut the bottom flaps at an angle to hold the cards. Then I glued the outer sides with Tear n Tape.
We made this card by cutting out the mittens from sparkle paper! It has a different look to it, but everyone loved this card.
Lastly we made a cute little tag from the mitten cut outs! To die cut the tag, fold your white cardstock in half and place it so that the die doesn't cut along the folded edge.
Then add a full cut out mitten to the top of the tag.
On the inside of the tag, we stamped a saying and a "To-From" stamp. Attach some twine to the top and you're done. I love small little handmade things. Don't you?
Making Buffalo Checked and Rustic Ornaments
This Christmas my daughter decorated with Buffalo checked decor. It's pretty popular this year and the colors make everything look cozy and warm.
To decorate her tree, I made some ornaments to go along with her theme. I love the little Buffalo checked trees the best. (And yes, I want to make more of these!) I used a triangle ruler to cut out the shape and sewed them up, leaving a small hole at the bottom for turning and stuffing. Then I inserted a stick and glued it in using a glue gun. The bows are glued on and lastly I sewed some red jute to the top to hang them.
You can also see in the photo that I stamped a couple of rustic log slices also. We made these a few years ago and I still had some log slices left over.
I used the Snowman stamp from Snowman Season and placed him in the Snow Globe shaker dome for this ornament. Then I added a Buffalo checked scarf from a thin piece of the fabric! I had some checked ribbon so I added that to the bottoms. Doesn't he look so warm and cozy in his checked scarf?
I remembered that I had some sweaters that I cut up to make projects with that were Christmas colors. I cut them out into heart shapes. They're easy to make because the sweater material holds the stuffing nicely and you can keep shaping them as you fill them. There's a small hole in the side for turning and stuffing. I stitched that up, added the bows and some twine to the tops for hanging. I definitely want to make more of these! I love anything made from receycled sweaters!
I found a nice box at Joann's to give to her to store the ornaments in and to complete the look. She loved her handmade Christmas Tree Ornament Box!
Friday, November 22, 2019
Come to Gather Fall Cards
For my cards this week I used the Come to Gather designer paper from Stampin Up. I love the Pretty Peacock color of the stripes and the feathers. I added the feathers from the Tags and Feathers wooden accents. I thought the card needed a little something more when it was done, so I added the little bird. He's from an old set. I saw this idea on line from Karen Hallam. This card can be used all year long and makes a great masculine card.
For this card, I cut out a leaf from the Peacock gingham paper using an older leaf die. I added a smaller cut out from Seasonal Layers framelits to the inside. Then I put a small teal pumpkin along side the tag. The card base is Mint Macaron and the idea is from Mary Fish.
For this card featuring the Country Home stamp set, I added some embossing paste that I dyed orange to a cut out stencil that I made from a framelit. It's along the bottom of the card. It doesn't show up well in the photo, but it really adds some dimension to the card. Then I stamped the Birch background in Crumb Cake ink. I added the country milk can with the dried flowers and small pumpkin for embellishment. The dotted paper is from the Come to Gather collection.
I used an older pumpkin stamp to make this card. The papers are also from the Come to Gather paper set. I cut out the pumpkins and added a dimension to the Jack-o-lantern.
I love to send out Thanksgiving cards. By the time we get to Christmas, there are so many things to do that I enjoy the more relaxed holiday of Thanksgiving. And you don't even have to buy any presents.
Painting Pumpkin Decor for Fall
If you're like me, you have a lot of items lying around that can possibly be turned into a craft project. I stopped by my friend Tracy's house and she had made some really cute fall decor items. Check out this cute pumpkin made from wine corks! I grabbed a few, hot glued them together and then painted one side of them orange to look like a pumpkin. How cute it turned out!
I glued half of a cork for the stem and added some leaves cut from burlap. Then I added a raffia bow and a small embellishment. I just love it.
For these pumpkins, Tracy cut a wooden post into smaller sections. I sanded them, painted them and added some embellishments to the top. To make the candy corn one, I put painters tape around the block, painted one color and then taped the other section and painted that, etc. After painting, I added some wax to finish them.
She even had a little scarecrow and a pumpkin to added to the top! My fall decor is stepping up!
One day on a small road trip to VT, I stopped at a lovely display along the road.
While my friend and I were out exploring and looking for fall foliage, we saw covered bridges and cute pumpkin displays.
Here I am sitting among the pumpkins. Ah, I love fall, both indoors and out.
I glued half of a cork for the stem and added some leaves cut from burlap. Then I added a raffia bow and a small embellishment. I just love it.
For these pumpkins, Tracy cut a wooden post into smaller sections. I sanded them, painted them and added some embellishments to the top. To make the candy corn one, I put painters tape around the block, painted one color and then taped the other section and painted that, etc. After painting, I added some wax to finish them.
She even had a little scarecrow and a pumpkin to added to the top! My fall decor is stepping up!
One day on a small road trip to VT, I stopped at a lovely display along the road.
While my friend and I were out exploring and looking for fall foliage, we saw covered bridges and cute pumpkin displays.
Making Fall Pumpkins
A couple of weeks ago one of my crafty friends said that she wanted to make pumpkins. I knew right away that she meant, sew them and use them for decorating, not make something to eat!
She and another friend came over and we took out some fabrics and embellishments and this is what we came up with! Cindy cut the branches from one of her trees. Then we used a dish to trace a circle onto fabric- cut out two. Using a tapestry needle threaded with floss, we sewed a gathering stitch around the edge of the circle. We added poly fill stuffing and pulled the gathers to form the pumpkin.
Then we added the stick and hot glued it into place with some Spanish moss at the top. The moss covered up the raw edges of the gathered fabric. We added some leaves, flowers, jute bow and a small stamped tag to complete the look.
They were easy and fun to make! I made my pumpkins out of an old sweater, some burlap and some outdoor fabrics- whatever I had lying around the craft room. I just want to make them all day long.
She and another friend came over and we took out some fabrics and embellishments and this is what we came up with! Cindy cut the branches from one of her trees. Then we used a dish to trace a circle onto fabric- cut out two. Using a tapestry needle threaded with floss, we sewed a gathering stitch around the edge of the circle. We added poly fill stuffing and pulled the gathers to form the pumpkin.
Then we added the stick and hot glued it into place with some Spanish moss at the top. The moss covered up the raw edges of the gathered fabric. We added some leaves, flowers, jute bow and a small stamped tag to complete the look.
They were easy and fun to make! I made my pumpkins out of an old sweater, some burlap and some outdoor fabrics- whatever I had lying around the craft room. I just want to make them all day long.
My Fall Sewing Retreat
Not only do I go on a Quilting Retreat in the winter, but also in the fall. Ah, I love fall. My friends and I went out on a walk during our retreat time and the landscape was amazing.
It was such a beautiful weekend! The weather was just perfect and the trees were in full fall color.
I do have to say, here in upstate NY the fall is such a great time of year! (I'm not sure about what comes next- a very long winter, but I do love fall.)
Here is a pic of the outside of our hotel rooms first thing in the morning. :)
On the inside, I was working on several different quilting projects. Although our retreat is 4 days, I never get enough done! There are just so many projects to make.
I started working on the Rainbow Quilt last winter. This weekend I sewed some borders on it and got it ready for the backing and quilting.
I added a light gray border to it and I love how it makes the rainbow colors all stand out.
This weekend I started this colorful quilt made from a jelly roll. I saw the picture in a book and tried to get the whole quilt put together in a couple of days. After sewing the strips together, I wasn't sure if I liked how it turned out. (Don't you hate that?)
But now that I have it at home, I put a teal colored border on it and like it a lot better. I hope to finish it soon to give to a friend who is moving away. She likes bright colors.
This is an adaptation of Pat Sloan's "Oh, my Stars" quilt pattern. I picked up the fabrics last fall at the Houston Quilt Show and cut them into squares to make a quilt for one of my sons. Last year I made him an afghan in these same colors, so I'm making the quilt to match.
It's ready for a backing. I'm hoping to finish it for Christmas. Wish me luck!
It was such a beautiful weekend! The weather was just perfect and the trees were in full fall color.
I do have to say, here in upstate NY the fall is such a great time of year! (I'm not sure about what comes next- a very long winter, but I do love fall.)
Here is a pic of the outside of our hotel rooms first thing in the morning. :)
On the inside, I was working on several different quilting projects. Although our retreat is 4 days, I never get enough done! There are just so many projects to make.
I started working on the Rainbow Quilt last winter. This weekend I sewed some borders on it and got it ready for the backing and quilting.
I added a light gray border to it and I love how it makes the rainbow colors all stand out.
This weekend I started this colorful quilt made from a jelly roll. I saw the picture in a book and tried to get the whole quilt put together in a couple of days. After sewing the strips together, I wasn't sure if I liked how it turned out. (Don't you hate that?)
But now that I have it at home, I put a teal colored border on it and like it a lot better. I hope to finish it soon to give to a friend who is moving away. She likes bright colors.
This is an adaptation of Pat Sloan's "Oh, my Stars" quilt pattern. I picked up the fabrics last fall at the Houston Quilt Show and cut them into squares to make a quilt for one of my sons. Last year I made him an afghan in these same colors, so I'm making the quilt to match.
It's ready for a backing. I'm hoping to finish it for Christmas. Wish me luck!
Subscribe to:
Posts (Atom)