Friday, February 1, 2019

At My Sewing (Snowing) Retreat

Every winter I go to a Quilting Retreat in the Berkshire Mountains with about 30 other women from my quilt guild.  It is a beautiful place in upstate NY where we spend 4 days sewing, chatting, eating and being inspired together.  We all look forward to going each year!

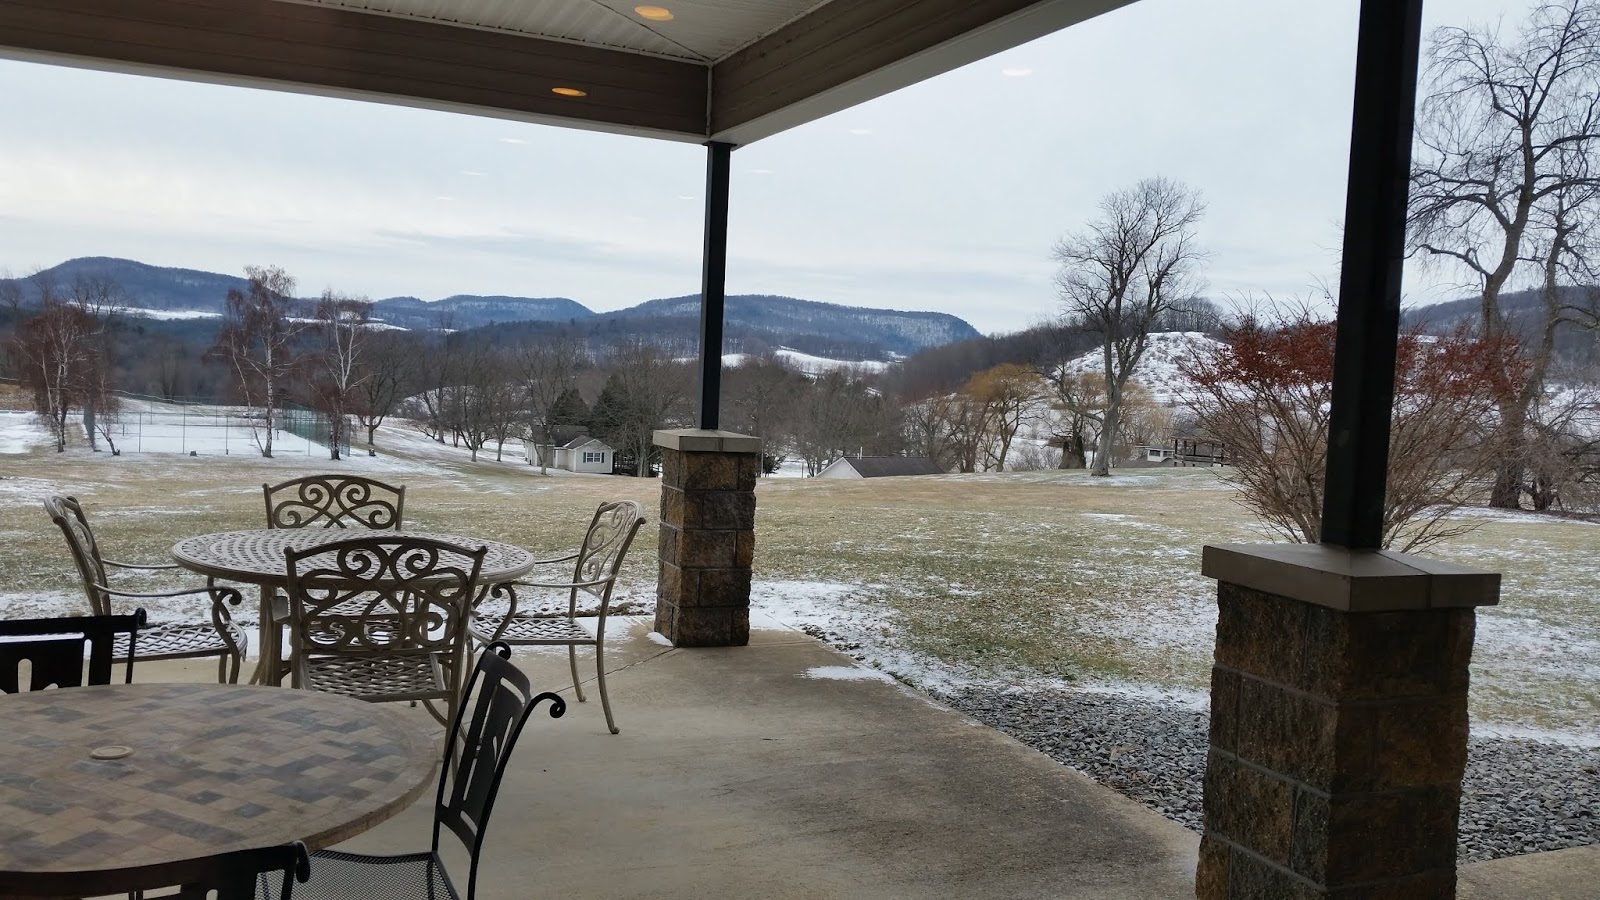
Here is a pic of the beautiful landscape when we arrived on Friday morning.  No snow, per say on the ground.  However, as the weekend progressed, we got 14+" of snow that was blowing around in some bitter cold temperatures. 

Look how the mountains have "disappeared" in this photo!  This pic doesn't even do it justice because I was taking the photo under a pavilion.  But even getting snowed in, we had a great time.

I brought a lot of old, unfinished quilts (UFO's) with me to work on.  Seriously, it's time to move these quilts on so I can start some pretty new things!  This is my year.  :)

Here is one that I started about 3-4 years ago for my sister.  It's got some cute doggie fabric that I cut up into 5" squares, but never finished it.  When I took it out, the squares looked very boring, so I made some colorful pinwheel blocks from my fabric stash to match some of the colors in the quilt.  Now it has some movement to it and doesn't look so boring.  I showed her a pic and she said, Yes, go ahead and finish it for her.  She loves it. 

I also working on this cute kitty quilt that will be for my daughter.  It was supposed to be her Christmas present (LOL) but now it will be for her graduation this spring from Nursing School.  It's almost done and I'll be a step ahead, not behind.  :)  The pattern is called Pins and Paws Cat Quilt from the Missouri Star Quilt Company.  It's such a fun and easy quilt to piece together.  Once I finish this, I'd like to make another one in some bright colors.  The link to make this pattern is here

Here is another quilt that I worked on during my retreat.  It's a fabric line called Flora and Fauna by Riley Blake.  I just love the colors in it.  It's from a jelly roll that I purchased last year.  It still needs some borders but the piecing is all done.  The pattern is from the Missouri Star Quilt Company called Cutting Corners Quilt.  You can make it, too- here is the link

Finally, here is a quilt that I started 4 years ago for my niece when she finished high school.  She wanted an "outdoor" quilt.  I wasn't sure what that exactly meant, so I purchased a jelly roll in the Alpine fabric line.  It has topographical maps on it, foxes, birch trees and other outdoor images. She'll be graduating from college this spring, so I thought that it's time that I should complete it!  I have it on my Handi Quilter and the quilting should be done soon! 

How about you, do you have quilts or other projects that you need to take out and complete?  I'll post them when I get them all done.  There are 7 quilts in my pile that are ready to be quilted and moved on. I'd better get back to work!  :)

Heart Quilt

Ah, the holidays are over and I'm so glad to begin a new year!  This year my goal is to sew, sew, sew!  I have a lot of quilts and other sewing projects that have been lying around and it's time to finish them up and move them along.  For real. :)

I made this cute little wall hanging for my daughter for Christmas.  Her favorite colors are teal and coral, so I used a fabric line called, Nest, for my project.  It has the sweetest little images in it!

Look at the birds and nests - so sweet!  I definitely want to use this fabric collection again. 

I found the layout on Pinterest from Robert Kaufman fabrics (link is here) and started cutting 2 1/2" squares from my jelly roll.  It took some time to cut the squares and arrange the colors, but once I was done with that, I numbered them and took them into my sewing room to sew them all together. 

The sewing took longer than I thought that it would - although it's a relatively small quilt, there are over 100 little squares to sew together!

Then I put on a white border and finished it off with a teal binding.  And yes, it was actually done before Christmas!  (Christmas Eve, but who's counting)

It's about 26" square- just the perfect size to hang on the wall or use as table topper - my kind of project (the kind that you can finish - LOL!).

Friday, December 28, 2018

This Year's Ornament Exchange

Every year in December I host an Ornament Exchange Party.  This year we had 9 ladies that exchanged handmade ornaments.  We all bring something to eat and then gather 'round for the Exchange.

Each person gets to tell the "story" of their ornament - how they made them, what was easy, what was hard, how they came up with the idea, etc.  You can make your ornaments from any craft medium that you choose.

There are always so many cute and creative things.  I love putting all of these handmade things on my tree each year and remembering who made them.  Look at this cute sled with pine boughs and ribbon embellishments!


Don't you just love this pretty ornament made with fancy papers and snowflake cut-outs in it?  Each one is different. 


Then we pass the ornaments around and each person chooses one from the basket.  They're all so pretty and interesting, it's hard to choose!


It's such a fun evening getting together with the Girls!  We look forward to it every year.


Aren't these cute?  Painted lids to jar candles and then when the candle is burned, punch a hole in the lid to use them as an ornament!  The idea is so clever.  It's a Reuse- Recyclable ornament.  :)


There were so many different snow scenes in a jar to pick from.  How festive is this little caroler in her woodland scene?


I wonder how many bottles of wine one of my friends had to drink to make these ornaments?  Ha ha - just kidding!


Pretty felt cut-out snowflake ornaments made with the Accu Cutter.


What a sweet look to these ornaments made from dried okra and acorns!  They are painted and assembled to look like they are straight from the Christmas Garden and Forest.


And golden stars always make your tree look traditional and festive.

It's so much fun!  We all can't wait to do it again next year.

Have you ever had an Ornament Exchange?  What are some of your favorite handmade things that you put on your tree?


Ornaments for the Ornament Exchange

Every year I host an annual Ornament Exchange.  About 8 of my crafty friends make handmade ornaments ahead of time for swapping with each other. 

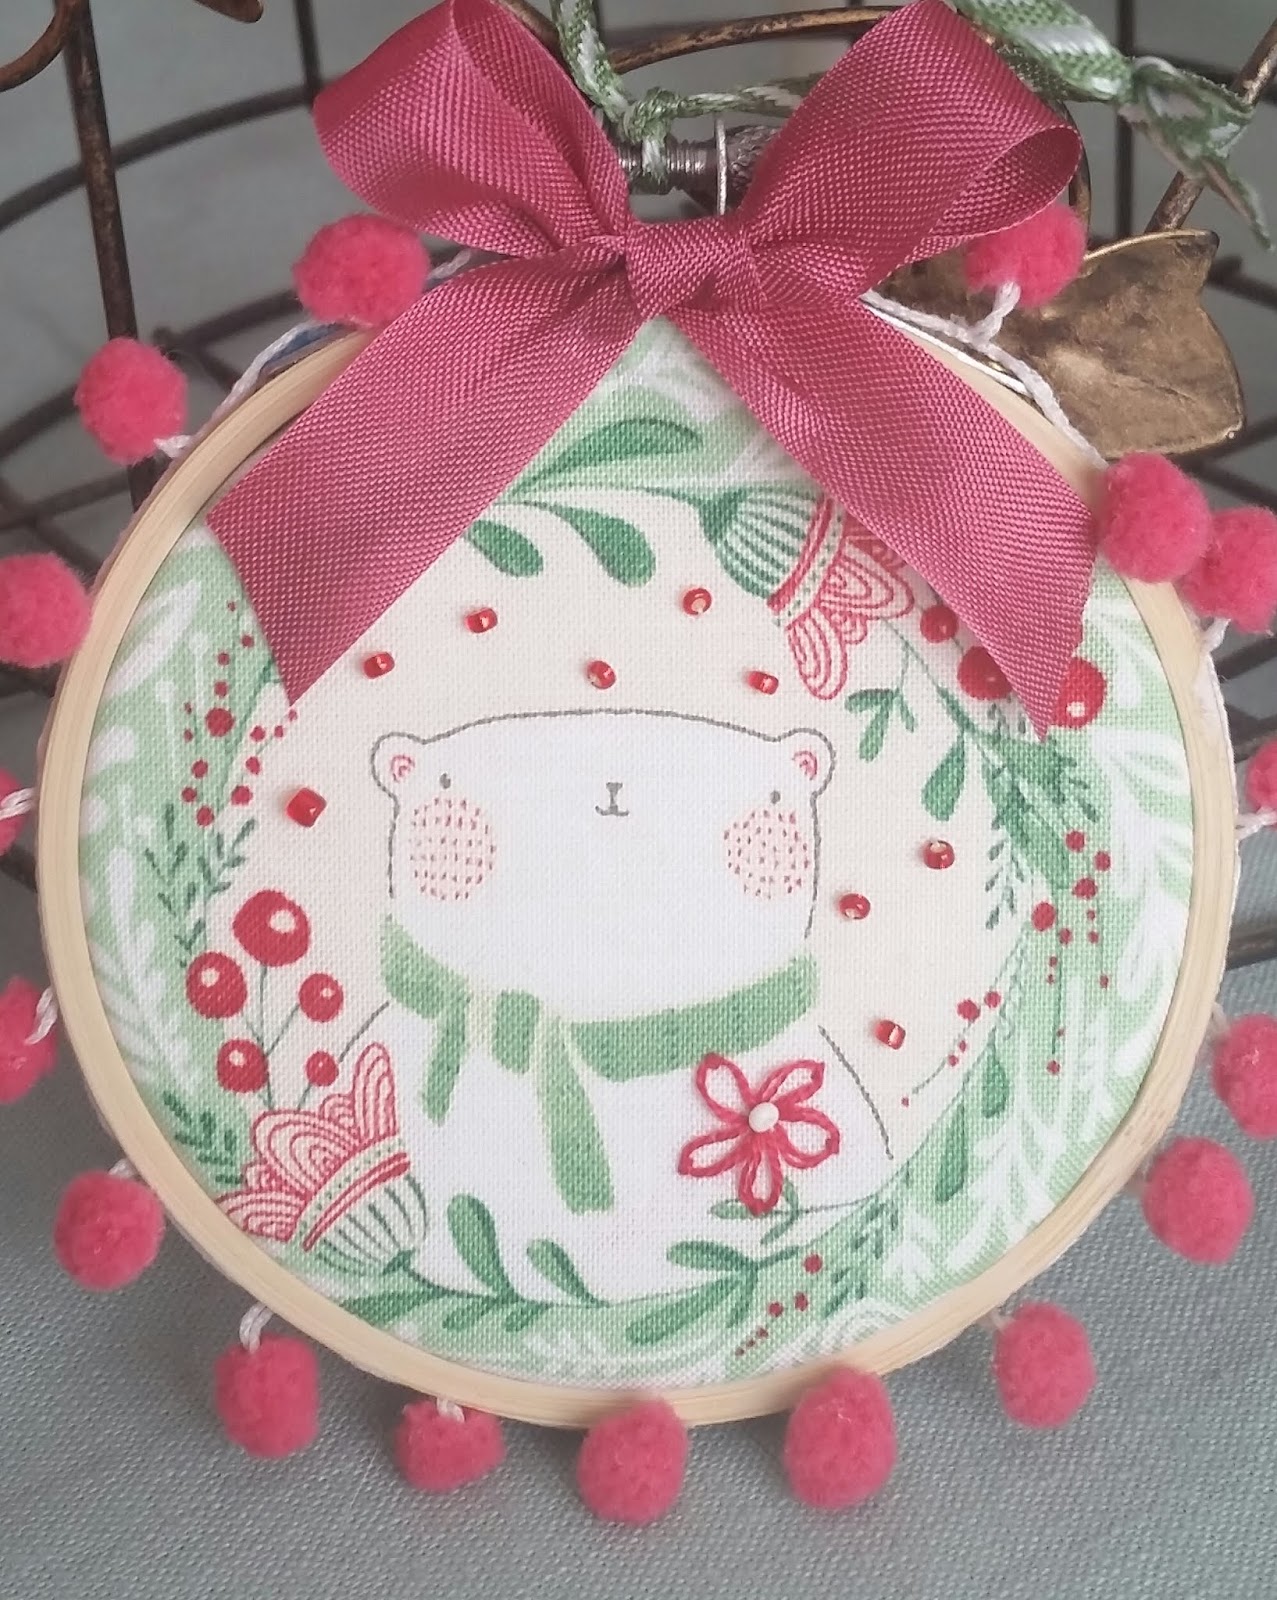
This year I found the cutest fabric while I was away at the Houston Quilt Show in November.  Its by Cori Dantini and features small images in vintage colors.

The images fit perfectly into a 3" embroidery hoop.  I had to go to several different craft stores to get enough hoops to make all of my ornaments.  Actually I thought that I had some, but couldn't find them. (!)

I added some embroidery using matching floss to each piece and made some lazy daisies on each one. 

I sewed on beads and buttons in clear, white and red to give them some dimension.  The back has stabilizer on them so the threads don't show through and then a piece of white Christmas tone-on-tone fabric to finish them off nicely.

I glued on matching pom pom embellishments to the edges and added ribbons for the hangers and to decorate the fronts.

There are so many cute images, I'm not sure which one that I like the best-  Santa, angel, tree, bear, bird and a snowman.  They were a lot of fun to make. 

Which one do you like the best? 

And Yet Another Deer

Are you surprised to see another card using the Dashing Deer set?  Nope, not me.  It's such a sweet set and I love using it.  :)

For this card that I copied from Su Mohr, I embossed the background using the Softly Falling snow background.  Then I just added some springs from the Pretty Pine thinlits.  Any greenery sprigs would work for this card.

The Christmas saying is a cut out from the Merry Christmas thinlits and is cut out using the Wood Textures paper.  I love how it makes the card look like you just took a trip to camp.

Add the saying Merry and the deer, a few rhinestones and you're done.  I love this card.

Santa's Doing a Little Baking!

For Christmas, I don't always get too much into Santa Claus, but I thought this little guy was so cute.  He's baking up a tray full of cookies for the holiday season!

He's one of the images in the "So Santa" stamp set.  I copied this card from Sandra Lewis that I saw on Pinterest.  I added the spatula and spoons from the Apron cut outs for an additional embellishment. 

I just love the plaid paper from the Festive Farmhouse collection in the background and his cute sayings.  For the inside of the card, it says May this season be the sweetest ever.  So cute! 

I feel like I might need to bake some cookies just so that I can use him again! 

Dashing Deer Homestyle

I love all of the things that you can do with the Dashing Deer set.  For this project, I cut out a couple of the deer and put them on a glittery snowbank in the woods.  I got rid of the glass so that it can have more of a 3D look to it. 

It's very hard to tell in the photo, but it's a very shiny scene.  The snow is glitter paper and the copper embellishments that I cut out for the corners shine along with the copper portions of the pretty paper in the background. 

I cut the scenery a bit smaller than the frame.  Underneath is a white piece embossed with the swirly embossing folder to give it some snowy texture.

Don't they look sweet in this frame?