Saturday, December 20, 2014

Making Coasters

This time of year is always hard to post projects on my blog because almost everything that I'm working on is going to be a present for someone!  Hopefully my family won't peek at my blog before Christmas!

This week I have been working on making some quilted coasters for some of my family.  This set is going to be for my son and daughter-in-law, so I made them to match their table runners.  I decided on a 9-patch block for their coaster sets.  I even put Thinsul-Brite batting inside of them to keep the hot cups from "sweating" through the fabric.

 For the next set, I made pinwheel blocks in some cheetah fabric.  These are for my daughter who loves animal prints.  After I finished sewing them, I wrapped each set in a bow and added a little stamped tag to complete the homemade look.

These coaster sets are a lot of fun to make.  They are a quick and easy project that can go in any room. 

I wanted to try making some just using strips of fabric.  I love how this gray set came out.  What a great way to use up some of your scraps!  I made this set for my son.  
He doesn't know it yet, but I made them in same colors as the quilt that I have been working on for him!  Shh!  Don't tell.
Which pattern do you like the best?  What colors would you use for the striped blocks?  Wouldn't they pretty in the colors of the rainbow?  I will have to try that idea next.  But I think I'll wait until after Christmas!


Saturday, December 6, 2014

There's a Whole Flock of Them!

I am going to be hosting an Ornament Exchange this weekend and decided to use the birds as my item to exchange.  Here are a few of them nestled in their basket ready for exchanging! 

These little guys are made from designer papers that are glued onto cardboard and then cut out with the Sizzix bird die cut.  Then I cut out the wings from the pieces that were remaining so that the wings are 3D also. 

Next I added stamping with some vintage images, glued a ribbon around the neck and punched some Petite Flowers for decoration.  Their eyes are pearls colored with a brown Sharpie.  Then a button with a twine bow and a ribbon for hanging completes the look. 

I made them in a lot of different colors so that they can be used all year round. 

Here they are all hanging on their little tree.  Do you like them?  Which color do you like the best?  Would you keep them up all year?


Silver and Sparkle

Usually I like the traditional colors of Christmas, but this year I have really enjoyed making cards and projects using some different colors!  I love the peaceful look that these colors bring- using Stampin Up's Lost Lagoon, Soft Sky, Smoky Slate gray and silver colors.

On this card, I stamped and punched out the trees.  For the lighter colored tree, I made two and stacked them on top of each other, folding the top tree and adhering it with glue dots along the fold to give it dimension.  I punched out the stars using the silver glitter paper.  It's hard to tell in the photos, but the card really sparkles!

I used the scallop topper punch to make these matching gift tags.  On the back, I stamped the "To and From" for the names and left a place for any sentiments.  I had a lot of fun playing with the designer papers, All is Calm to make these!  I got the ideas from Narelle Farrugia from my favorite site, Pinterest. 

I also wanted to make a card with houses on a street at Christmastime.  Here is what I came up with using Holiday Home and the All is Calm designer papers.  I'm not sure if I like the card that much, but I think the houses would make cute little gift tags. 

Are you experimenting using different colors this Christmas?  What is your new color scheme?


Saturday, November 29, 2014

The Quilted Tree Makes a Comeback

 You might recognize this little tree ornament that I designed last year.  I had started making about 20 of them but never finished them all.  Ha ha- you know that's the story of my life, at least in a crafting sense!

A couple of weeks ago, I put together (finished) some of my craft items to be a vendor in a local craft fair with one of my friends.  I was hoping to sell more than I did, but I think for my first time that I did okay. I got lots of new ideas on how to display my items for the next time.

After the craft fair, I put this little tree ornament in my Etsy shop to sell.  This morning I made my first Etsy sale- this little tree ornament!  I want to design similar ornaments to coordinate with the tree and make it a set but I haven't gotten to that yet!

Do you like this little tree ornament?  Yup, you guessed it, you can buy it in my Etsy shop.


Christmas in Traditional Colors


Finally, a Christmas card with some traditional red and green colors!  This card is made using the Nordic designer paper and Cheerful Christmas stamp set.

The little candy cane favor is made using the envelope punch board.  You can find the directions to make this card on Pootles' blog here.   It's quick and easy to make, no matter what my stamping students say!

One thing that I love to do is make favors and ornaments to match my cards.  Do you like to do that, too?


The Star is the Star!

Here is another sample of a Christmas card that I made using the Lost Lagoon color.  It's hard to tell from the photo, but the small silver star on the card is embossed with silver powder.  It gives a lovely shimmery look to the card.  Even the designer papers shimmer with a silver glossy sheen.  I copied the idea from Heidi Boos. 

The star ornament is made from Lagoon cardstock and embossed with white embossing poweders. It's made by adhering 4 stars together and adding a bead and ribbon before you glue it all together.  The Bright and Beautiful stamp set comes with a star framelit shape to cut it out.

This Star card uses the star cut-out as the background, letting the designer paper show through.  Then the star is embossed in silver and raised for dimension.  The white paper is dry embossed with the new stars folder and the embellishment stars are cut out using a punch with some silver glitter paper.  I got the idea from Angie Leach.

The stars cards and ornament were a big hit in my stamping classes.  I guess you could say this star is the star of the show!


Lost Lagoon is a Christmas Color?

Somehow this pretty aqua color, called Lost Lagoon, has made it into the Christmas color palate!  I paired it with a softer aqua, named Pool Party and added a dark brown Espresso for contrast.

The pines are stamped first in the Lagoon color and then embossed with white to give it some depth.  The pine cones add more dimension and the framed saying just gives it a simple finish.  I found the idea on Pinterest by Rambling Rose Studios.

I think this is one of my all-time favorite cards. I love the simplicity of the blues along with the simple saying of Christmas Wishes. Now if only the rest of the holiday planning was this easy!


Peace and Joy and a Little Vintage Bird

I've been working on some cards for Christmas and wanted to try a different color scheme.  This card looks kind of vintage to me and I like the colors even though they are not the traditional Christmas colors.  I copied the design by Barbara Meyer.

I thought that the card needed "something" to go with it, so I designed this little bird ornament.  I used a Sizzix die and some vintage papers, a little stamping, ribbon, accents and a tie to hang it from the tree.  The eye is a pearl that I colored with a Sharpie marker to match the color scheme.

I had so much fun designing the bird that I think I will make some more "friends" to go with him.  Stay posted!

Christmas Wishes

Today I am finishing up some Christmas cards to send to the seven missionary families that my church supports.  Every one in the congregation is asked to fill out a card for each of families and drop it in a box labeled to each of them.  Next week the church will send the box of greetings out to the different countries where they are living.  What a great way for them to feel remembered and loved during the Christmas season!

 I made this card last month for one of my classes and really like the colors and the peaceful saying.  So I chose this card to make and send to the families. (It was designed by Dawn Olchefski.)

Here is the magnet that I made to match the cards.  I decided to keep the same colors and theme going.

I pray and hope that the missionary families are blessed by their boxes of holiday greetings!

How about you, can you think of someone outside of your close family and friends that would love to receive a card? 


Saturday, November 15, 2014

A Sense of Time

Yesterday I worked on another framed project, this time helping a friend make one with a clock theme.  I used one of my favorite older sets, A Sense of Time, and added some vintage accents.

 I love the saying that is in this set: "An unhurried sense of time is in itself a form of wealth."  I guess I like it because I am a 'stop and smell the roses' kind of girl.  Even though I usually (always) wait until the last minute to get things done, I don't like to be in a rush!

It's hard to see the dimension in the photo, but the depth of the scrapbook frame makes it easy to add 3-D items, lace and small charms.  


What theme would you use for your frame if you were making one today? 


Wednesday, November 12, 2014

Christmas Frame

Remember all of those frames that I bought from Hobby Lobby last summer?  Well, I am finally using them!  I worked on this design today for a Christmas frame class.  We have been using the stamp set, Ornamental Pine a lot lately and it works up so nicely for the frames.

For the focal point, I started with the pines.  I stamped them in two different greens to give the pines some dimension.  The Christmas Wishes sign is embossed with white to make it stand out and the pinecones are raised using stamping dimensionals.  I saw the card idea on Pinterest by stampwithbrian.com and just added embellishments to turn it into a decorative frame.  

I love the saying that comes with set.  I think this is one of my favorite stamp sets from the holiday catalog.

I even added the little deer from one of last year's hostess sets to go along with the woodland look. Lastly I added some rhinestones to give the tree boughs and snowflakes some "sparkle."

What would you put in the frame for Christmas decor? 


Saturday, October 25, 2014

I'm Celebrating 100!! And a There's a Free Giveaway!

Hoorah!  Today I'm celebrating 100 blog posts on my blog!  At the end of the post, there's an awesome Giveaway!  Here's how you can celebrate with me!

1.  Did you know that you can "Pin" any of the photos on my blog?  This will help others see my photos and direct them to my site.

 2. You can leave comments on my posts!  I love reading what you have to say.  So go ahead, and write to me!  I'd like to know what you think! 

3.  You can become a "follower" of my blog if you'd like!

4.  You can shop in my Etsy store.  Right now, there's not a lot in there for sale, but keep checking back and there will be more!

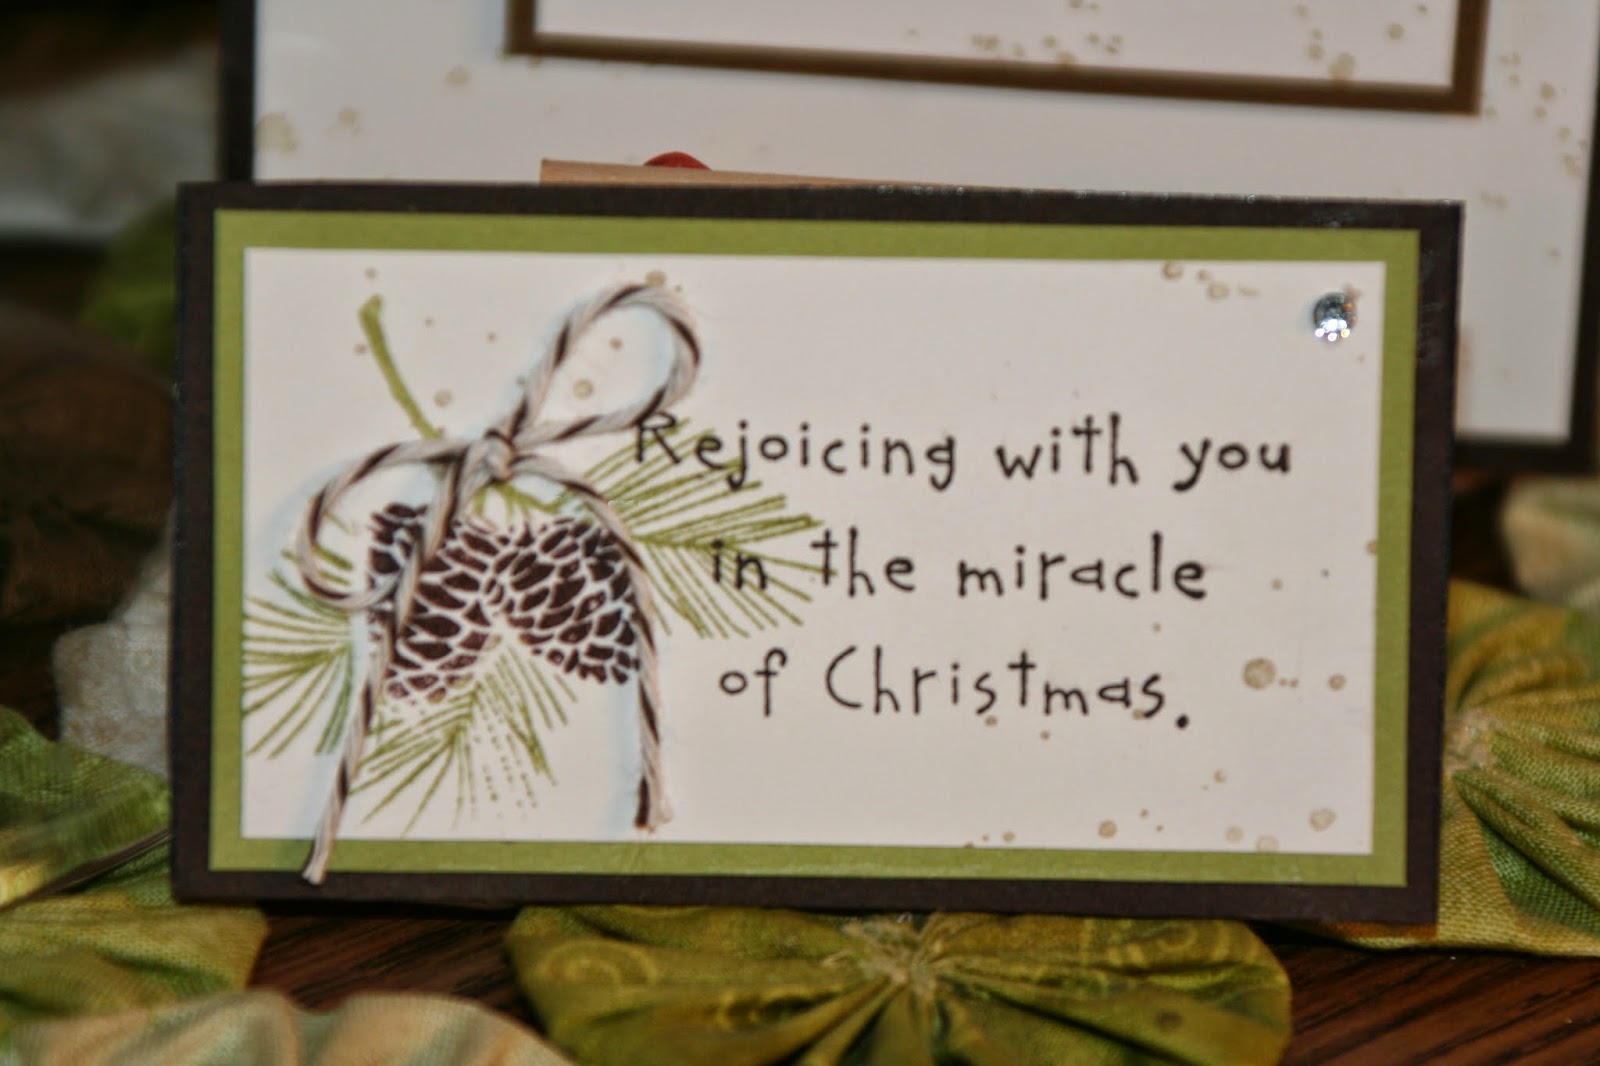
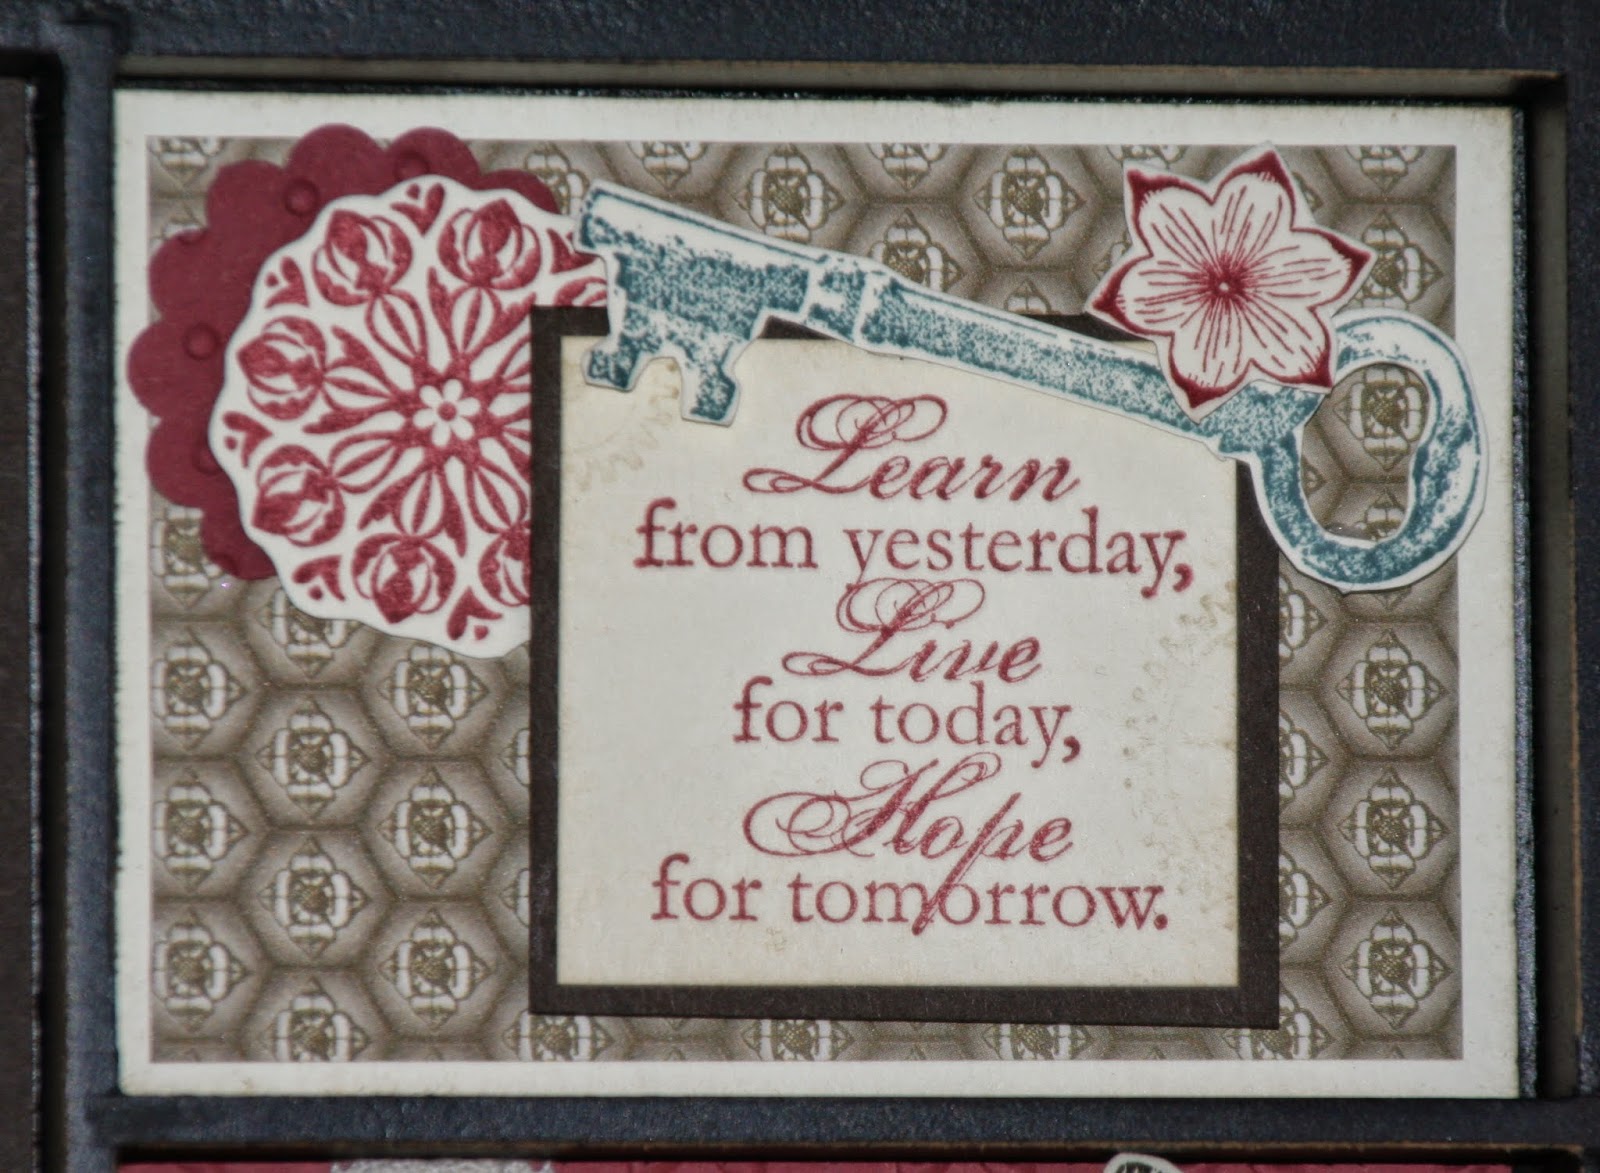
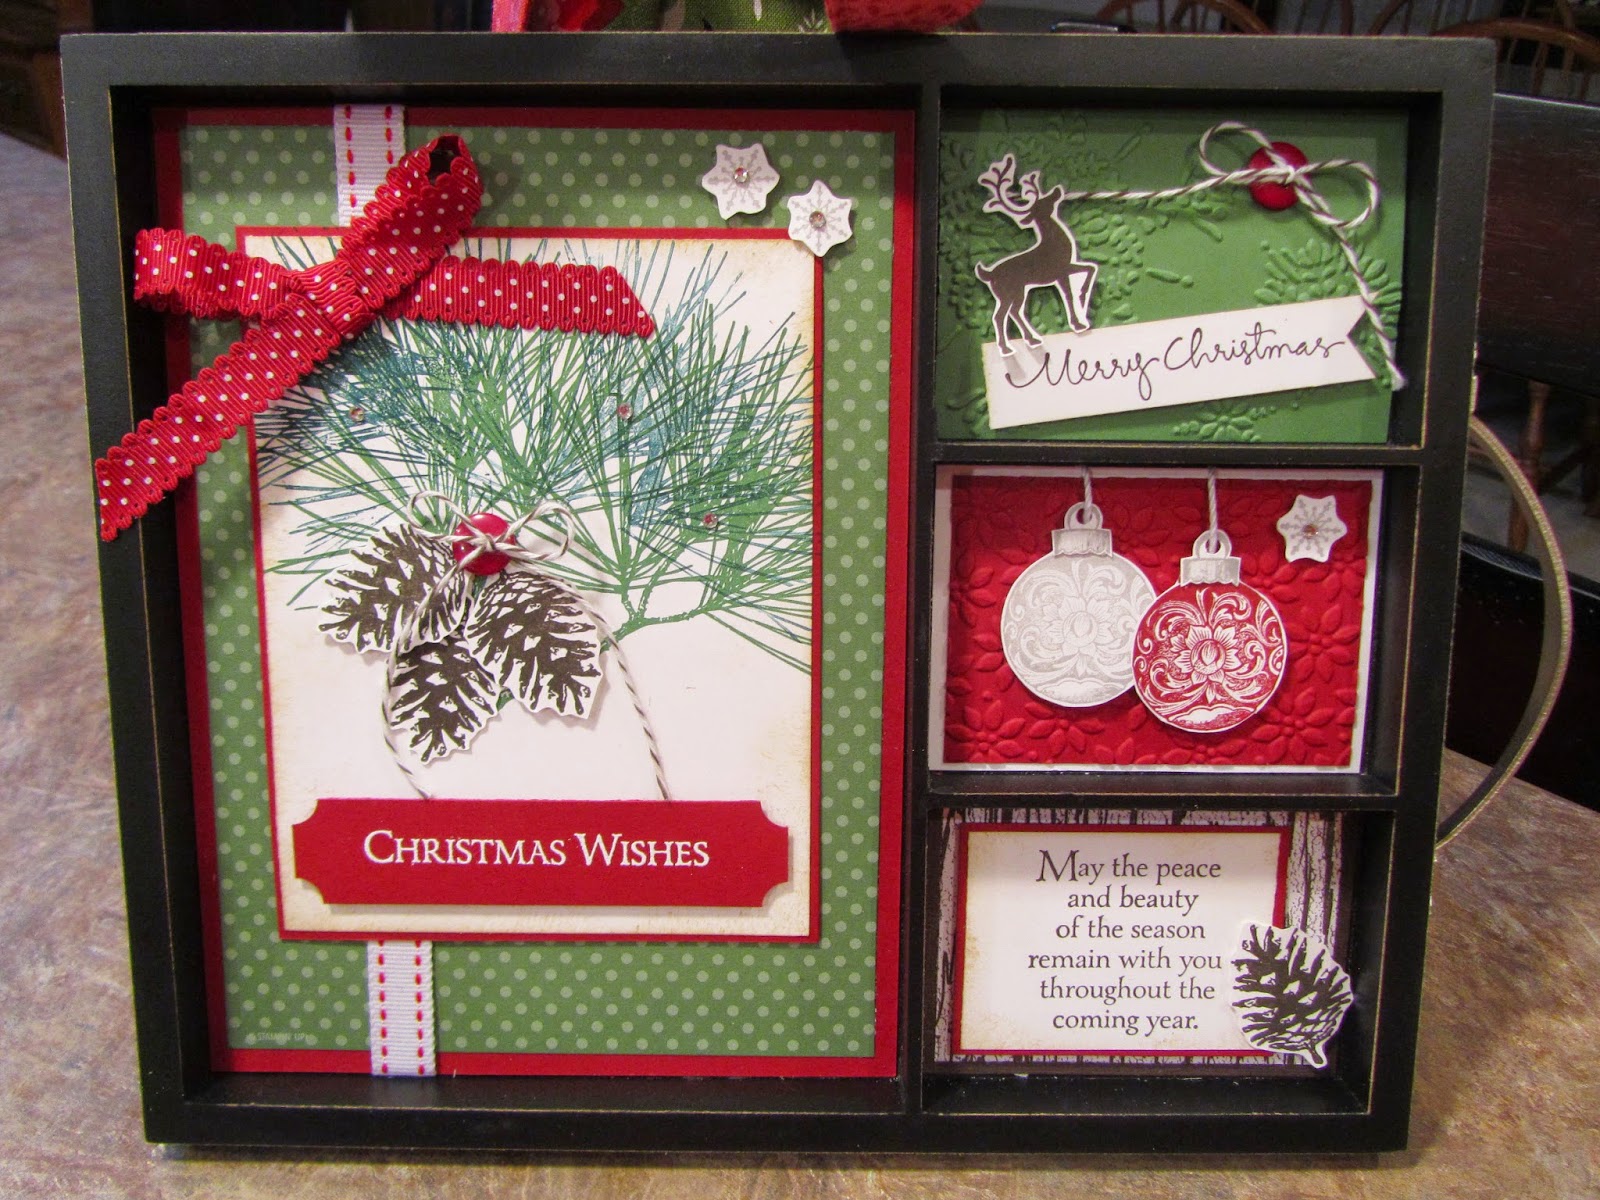
5.  You can be entered in my latest Giveaway!  From time to time, I like to have surprise giveaways.  Pick your favorite post from my blog and tell me which one that you like the best.  Leave your comment on this post and...

You will be entered into a drawing to win a $15 Gift Craft Card of your choice!  Pick from Hobby Lobby, Joanns, Michaels, Walmart, AC Moore or Stampin' Up!

But don't delay!  The drawing will be held on Tuesday, November 7th at 12:00 pm (EST).  I will let you know if you win and you can choose your gift card!  Good luck!  The drawing is over and Christy A, you're the winner! 

And thanks for reading my blog!  Here's to 100 more!

Friday, October 24, 2014

Box Cards for Fall

You may have seen some of these Box Cards, but I wanted to try my hand at making one!  I used some fall colors with the stamp set, Fall Fest.  The papers are from the Motley Monsters designer set.  We made this project along with the envelope at my last stamping class.

The incredible thing about this Box Card is that it fits in a standard card-size envelope!  Here is a photo the card all folded and being tucked into the envelope.  When the recipient receives the card, it's a surprise when it stands up like a box!

Here is the whole set that we made- the Box Card and envelope, another fall card and a decorative candle. 

Here is another variation of the same set.  This time I turned the paper over and made jack-o-lanterns out of the pumpkins!  Don't you just love the teal-colored pumpkin? 

We also made some magnets for the fridge by adding transparency adhesive sheets on the front and back along with a magnet strip.  Then we finished them off with a bow!


Chevron Runner

Ha ha!  Guess what I finished making yesterday?  Another table runner!  It's actually a dresser scarf that I made it to fit the top of my dresser for my room.

I recently had some painting done in my home and chose some soft grays for my bedroom.  I picked out a light-colored gray for the top of the wall and a medium gray for the bottom.  I added a white chair rail to divide the two colors.  It has a nice peaceful look to it.

For the dresser, I wanted to make a runner with some sort of chevron design. I found this pattern on Pinterest.  It has a chevron that sort of runs sideways, but it was easy to make and I like how it came out!

Do you decorate with grays?  What colors do you like to put with it?