Showing posts with label stampin up card. Show all posts

Friday, April 19, 2024

Stippled Roses Cards

For this week's Stamp Class, I decided to use the Stippled Roses stamp set.  I made three cards using the set and the coordinating designer papers, Softly Stipples.  I have to say this set is not normally something that I would use (honestly, I don't even know why I bought it!).  

However, I loved working with it and how beautiful the cards came out. :)

I called this stamp class as "special occasion card" class because this set and these cards are so pretty that they can be used for wedding, sympathy, congratulations or special day cards.  

For the first card, I made a double back fold where you can fold back the front layer of the card.  I added some designer papers to decorate the panels and a pretty coral piece to the front.  I stamped and cut out the coral roses and added them to the circle focal piece.  A few sprigs, some flowers and gems and it turns out to be a beautiful card.  


For my next card I stamped the saying onto the front of the card first, then added the designer papers at the top and a little splash of dots for color on the white piece.  I added the roses using dimensionals and then some sprigs and flowers.  

On the inside I added a gift card holder.  I mean, what Mom wouldn't want a gift card for Mother's Day?

Card #3 is made using Smoky Slate for the card base and then some designer paper added to the front.  I used a leaf embossing folder for the white focal piece and then mounted it onto a piece of Lost Lagoon for a frame.  Then added the roses and sprigs.  I thought that the card needed a little something more, so I added a strip of the designer paper as a little banner to place under the saying.

I love the cohesive look of the three cards.  For the most part, I used the same embellishments on each card to tie them all together.  They're so pretty, I hate to give them away.  LOL


Sunday, September 29, 2019

Magnolia Suite

When I first got the new (June) Stampin Up catalog this summer, I saw the Magnolia stamp set and coordinating papers.  I wasn't sure that I "needed" it, but after seeing so many beautiful samples online, I decided to go for it!


For my stamp classes this month, I offered a couple of classes featuring the Magnolia Lane suite.  The designer paper is amazing and this set works up some really nice projects.  This card is a simple card that also coordinates with the framed project.  I got the card idea from Gail Ellis.  Then I made a matching bag to hold all of the cards.  I watched a bag-making tutorial made by Amanda Flowler.

The Live, Love, Laugh sayings were from an old framelit set that I had.  I thought this would be a great use for them.  But I have to say that I love the 3D flowers along the side.  It gives the whole project a nice 3D look.  I'm not sure who to thank for the idea for this project, but it's lovely.  (If it was your sample, please let me know so that I can give you the credit.)

For the next set of matching projects, I made the Magnolia flower the focal point for the framed project along with a matching square card.  The card is from Stesha Bloodhart and I'm not sure again of the source of the framed project that I found on Facebook. 

I got the wooden frames at Joann's in the clearance section and painted them.  I also used Naturals white cardstock for the card to give it a more vintage feel.

Rounding out this month's cards is a lovely gold embossed card.  I painted the teal focal point with some ink to give the card some color.  It's a simple to make card that has a great impact.  I found it on Facebook but again don't have a name.

Lastly, but perhaps my favorite of all, is this painted Magnolia card.  I stamped onto Crumb Cake cardstock and embossed with white ink.  Then cut and gave the flower a watercolor look using some matching ink and some white craft ink.  It's hard to tell in the photo, but there's some wink of Stella to make the flower shine.  (No watermark on this card either, so no name.)

I was trying to showcase cards from this set that worked up fairly quickly without having to color in the Magnolia flower.  I think everyone enjoyed them.  What do you think of this set?


Saturday, June 28, 2014

Change Up the Color (and Free Giveaway)


I was playing around with the hexagon stamps and punch today and made some cards to send to some of my friends.  They're so easy to make- you don't even have to cut anything out.  Just stamp and punch!  First I started with the (oh, so loved) Baked Brown Sugar, Pistachio and Cantalope colors.
I love how it turned out.  A simple and yet trendy card!  Then I wondered what this same card would look like made with different colors.

 I added the sunny Saffron and love how this card looks, too!  Reminds me of a summer day.  :)

Then I tried the Pool Party and love the peaceful, ocean-look that this card has.

Which one do you like the best?  Leave me a comment (before Mon July 7th) and let me know why you like that card the best and I will send you that card to give to one of your friends! 


Saturday, June 7, 2014

Cute Little Owl Guy (and Free Give-Away!)

When I was looking through the new Stampin' Up catalog, I was immediately drawn to this cute little owl guy in one of the new stamp sets.  He is from a set called So Very Happy.  I made these magnets for my stampers who are coming to the New Catalog Party.  I  love to color and cut out images.  (Just ask my the stampers who come to my house!)  I used some of the new papers and punches, too.  He is going to be the "star" of the Party!

Here is the card that I have ready featuring the Happy little owl.  There's also a sour cream favor with a punch-out window.  He's just SO cute!


As an added bonus, I am having a free Give-away!  If you leave a comment before Monday, June 16th (at 9:00 am EST) on this page, I will randomly draw names and send you one of the magnets featuring the cute little owl!  This drawing is now over.  Eileen O is the winner! 
 Good luck!


Saturday, May 17, 2014

Petite Petals Class

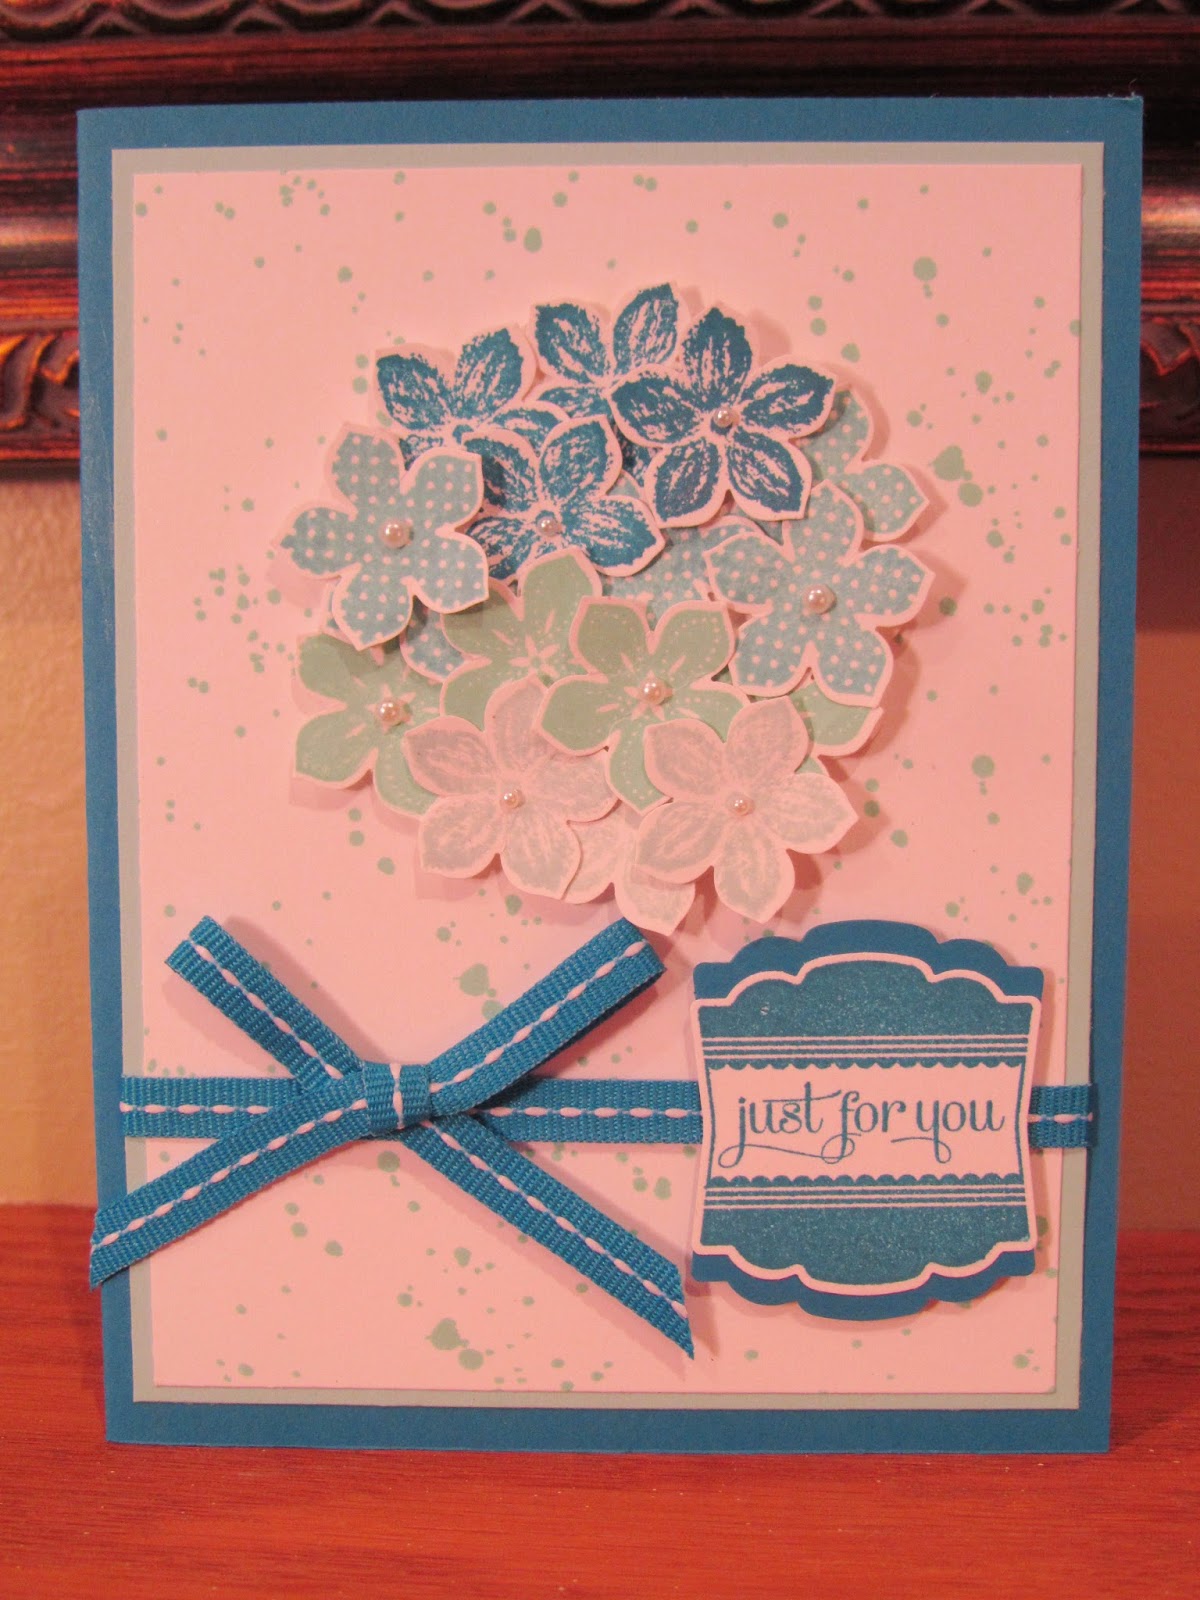
This month I held a stamping class where we made these three cards all using the same stamp set, Petite Petals.  The nice thing about this stamp is that it comes with a punch and that makes it is so quick and easy to use!

I think this card was my favorite of the three.  I just love the blues and how they gradually change color in the "bouquet."  I don't usually use blues in my projects, but I really like how this came out.  I got this idea from Jackie Bolhuis.

Because they are so pretty, I made a lot of these cards to give away along with the cutest little Post-It holder ever!  The little favors have a small Post-It pad in them and are made using the Envelope Punch Board.  Then they are wrapped with the ruffled ribbon that has elastic in it.  Because it stretches, you can just slide down the ribbon to use the pad instead of taking it off!  If you want to make these, you can find the directions from Deb Valder's site on how to make them here.

I really love the two colors on this card and how they go together- Baked Brown Sugar and Crisp Cantaloupe. I don't know what I will do next year when they retire.  Maybe cry (no, not really!).   I got the idea from a card on the blog called Whimsy Art Cards.
I gave my customers two variations for this card. It could either be made with a green scallop on the edge for a dressy look or with more of a "grunge" look that has tears and sponging like the one on the right.  Which look do you like better?
Unfortunately I lost the link from where I found the idea to make this card.  I will definitely post it if I find it!

Which one of the cards is your favorite? 


Tuesday, May 13, 2014

Using the New Stamp Set

Although I love using all of my stamp sets (and I do have a lot of them!), it's always fun to get a new one.  This stamp set, Work of Art was given to all of the demonstrators who attended the Catalog Preview night.  Strangely enough it was held at the Crossgates Mall in the movie theater!  Go figure that one.

I wanted to use a purple palette for this card and just kept adding embellishments until I was satisfied with.  It's got washi tape, ribbon, punched leaves and flowers, some painting, a jeweled brad and some rhinestones.  Oh yeah, I also sewed the edges!  Maybe that's why I like it so much.  :)


Sunday, February 2, 2014

An Old-Fashioned Feel to Them

Last month I made some cards that had a sort of old-fashioned feel to them.  I just love this look!  I got the Dress Up framelets (that cut out shapes) from Stampin Up and had so much fun playing with it and with some of my new stamps.  On this card, I added some color to the rose by sponging the cantelope color onto it.  There is some sponging on the card done with a light tan, but you can't see it that well in the photo.  I found the idea for this card on Pinterest (my favorite online place to be!) from Sharon Cheng.

 This card is made with the Post Card background stamp.  So cute!  I love the colors, love the antique ribbon, love the whole card.  I got the idea from another stamper, Narella Farrugia.  She has some pretty nice stuff on her blog.

It's been a long time since I've made a card using a wheel!  But I really liked this wheel when I saw it in the catalog. I thought that it had a little different look to it.  Even the "lady" focal point is part of the wheeled images.  I added a folded doily fan and a rose made from paper clay that you don't have to cook in the oven.  I got the idea from Ann Clemmer at stamperdog.com.

I love all three of these cards, but I think the Post Card is my favorite.  Which one do you like the best?


Tuesday, August 27, 2013

Come Emboss With Me

This month I offered a card class where we used different types of embossing on our cards.  On this card, we used black embossing with the Summer Silhouettes stamp set.  It's hard to see on the card, but the black images are raised and glossy.  So pretty!

 I used the painter's tape technique designed by my friend, Deb Valder for the background.  Rub a piece of painters tape along your stamp pad being careful not to catch in the edge of the tape and just press it onto your card!  I saw the same card on Vicki Burdick's blog and she had used these pretty summer colors (including Baked Brown Sugar and Strawberry Slush from the In Colors).  I like this card so much that I would like to try it in different color schemes.  It was fun and easy to make.  Try the painters tape technique today (just be careful that you don't ink on your hands!)


On this card, we embossed the background in a soft gray powder using a Versa Mark pad to stamp the image.  We also embossed the saying with black powder to make it stand out.  The stamp set is Creative Elements.  I got the idea from Jennifer Timko.


For this card, we stamped on vellum and embossed the card with white powders.  Then on the back, we sponged the color and used the Secret Garden framelits to cut out the images.  The idea for this card is from Lee Ann Greff. 

After each stamping class, I always ask the ladies which card or project that they liked the best.  Which one do you vote for?


Monday, March 25, 2013

Three New Cards


Every month I hold rubber stamping classes in my home.  Last month we made these three cards.  I love them all, but I think this yellow card outshines them all!


I love all of the new embossing folders that Stampin' Up has.  You can't see it in this card, but the top on this one is embossed with clouds! 


I would like to make some more of these cards with some different sayings.  Just change the saying, the color of the flower and the designer papers that are cut into hexagons and I think it makes a great masculine card!  It's so trendy too!

Design ideas are taken from the Stampin' Up spring catalog and from Vicki Burdick.