Friday, December 30, 2016

The Pets are Waiting for Christmas, too

Each year I like to make something for the "little ones" around here.  No, I don't have grandbabies yet, so what's the next closest thing?  Making gifts for the kitties.  :)

While perusing Pinterest, (like I do every day!)  I came across these cute little pet beds and just knew that I had to make them for the 2 kitties that live here with me.

They're made of 2 pieces of fleece and I had to piece them together because I only had half-yard pieces of fleece in my stash.  You simply cut a circle, about 22" in diameter and sew 2 pieces, right sides together, leaving a whole to turn.  Turn right-side out and then mark and sew a second circle about 4" in from the outside.  Then stuff with some fiberfill and stitch up the hole.  They make a great pet gift and are pretty easy to make.  I got the idea on Instructables.com. 

 Here's Ginger enjoying her little bed. She's guarding her bed and blanket so that no one takes her presents!

I also made them blankies from fleece scraps and stuffed them with loose catnip.  The blankets measure about 19" by 25."  You can make them any size depending on the size your cat.  Before I stitched up the turning hole, I poured in some catnip.  Then I topstitched them about 1/2" around the edge to finish them off.

Here's my other furry friend enjoying his new bed.  The cats rolled around on their blankets for like an hour, just enjoying the fresh scent of the catnip and snuggling up in their new warm beds!

Merry Christmouse!

Another stamp set that I really liked from the Stampin Up holiday catalog this year is this little mouse set, called Merry Mice.  It has several really cute mouse images in it, great for making some whimsical Christmas projects.  :)

 I love this little singing mouse, cut out with the oval framelits.  Doesn't he look so festive?  I added some rhinestones to give him some bling, so he really shines on this card.  The idea for this card is from Ann Schach that I found on Pinterest.  I like the striped paper for an accent, too.  It kind of reminds me of a candy cane, only with green stripes, too. 

Look at the little mice here in this sweet dimensional card.  They are walking through the forest, looking for their Christmas tree to decorate.  It's hard to tell in the photo, but it's a small box card.  I trimmed the dimensions so that it fits nicely into a regular envelope when folded.

It's hard to see in the first photo, but there's a small silver star hanging in the diorama, too.  This card idea is from Bekka Prideau.  

This Happy Christmas card features the tree punch.  I love how the designer paper shows through.  I added the white layer using dimensionals to make the tree "pop."  I love the colors in this card - cherry cobbler red, mint macaroon and emerald envy greens.  Don't they just sound so festive?  This card was quick and easy to make.

Lastly, there is a set of 2" tags all packaged up in the clear box and wrapped up with a bow.  This makes a cute little accent gift. 

This set is definitely one of my favorite card classes! 


Sewing Up Some Aprons for Holiday Cooking

Every year I like to make some of the gifts for my friends and family.  The problem is: there's never enough time to get it all done!  And I'm one of those girls who doesn't like to work on Christmas during the summer or fall.

Anyway, this year I found a cute pattern in one of my Debbie Mumm quilt books for this apron.  It does have ties in the back, but you just can't see them in the photos.  It's totally lined on the back, which makes it reversible.  It's like getting 2 aprons in one!

My favorite is this pretty red apron with the deer.  I decorated my home in a woodland theme for Christmas this year, so when I saw the deer fabric, I went right for it!  I love it paired with the red polka dotted trim!  Do I get to keep it for myself?  Nope.  It goes to one of my crafty friends.  :)

Next up is a cute snowman-patterned apron using the same polka dotted fabric as the contrasting pieces. 

 I love how it's not just red and Christmas green, but a pretty soft sage.  Don't you?

And how could I resist this cute Christmas Pig fabric?  When I saw this in the fabric store, I knew right away who I wanted to give it to!  The little piggies are all decked out for the holidays and ready for baking pumpkin pies!

So cute, right?

This last apron I made for one of my friends whose birthday is the day after Christmas.  I purposely didn't use Christmas fabrics for her! Don't you just love the colorful tea cups on this?  I even cut out a couple of them to embellish the pockets. 

These aprons were a lot of fun to make.  I have some pretty fabrics in my stash that would work well for this pattern.  Maybe I'll get to them in the new year...

Stockings are Hung by the Fire

This year I found so many stamp sets and items in the Stampin Up holiday catalog that I wanted!  It was hard to narrow my wish list down to just a few.  I try to buy sets that I can use for more than one season or project.  One of the sets that I chose to get was Santa's Sleigh and the framelits that match it.

 I saw a couple of ideas on Pinterest and just love the cut-out deer and trees.  Doesn't he look so regal next to the trees out in the moonlight?  I love the blue palate; it creates such a serene look to this card. I got the ideas for these cards from Julie Davison.   I will definitely use this set again!

 Santa's sleigh is all decked out and ready for Christmas!  I love the heart embossing on the card to frame in the sleigh.  The sleigh is cut out with a framelit and comes out so nicely.  I trimmed the gifts and the bows by hand to get closer to the images.

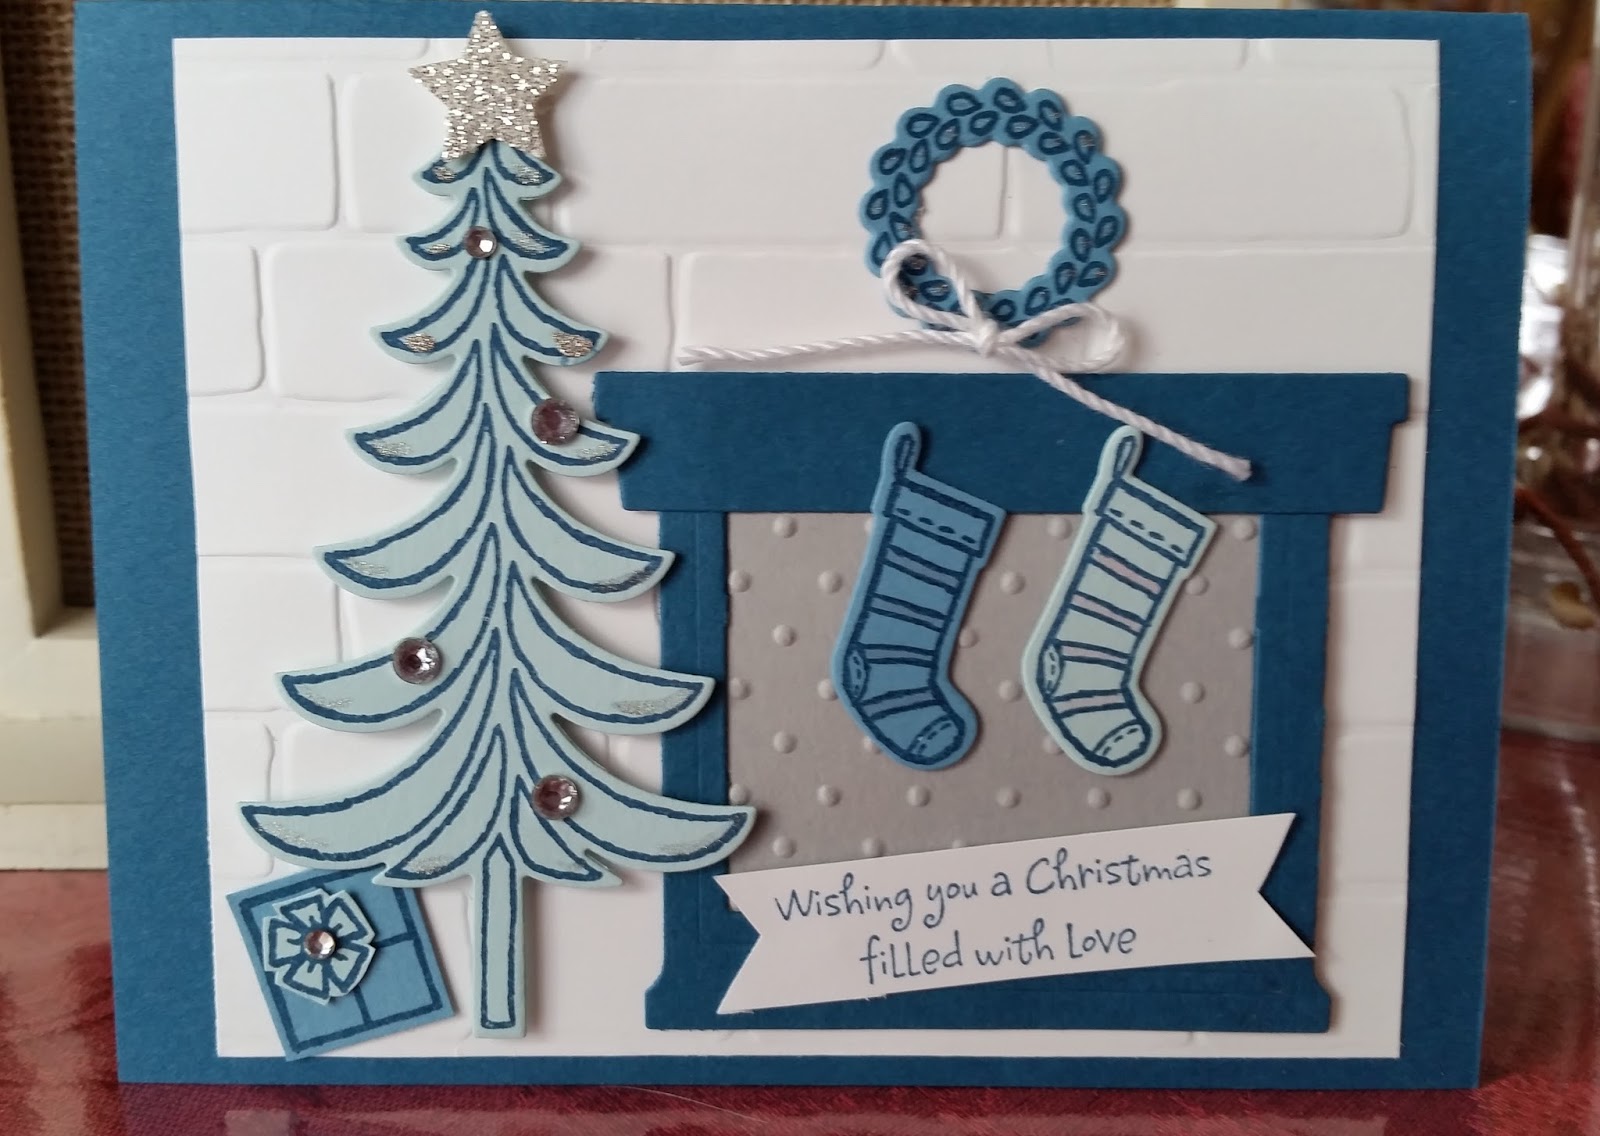
And lastly, the house is all decorated for the big day with the tree trimmed, present(s) wrapped, wreath put up and the stockings hung by the fire, with care, of course.  I used the window cut-out and cropped it to make it square shaped and look like a fireplace.  Doesn't the brick embossing in the background look like a wall? 

I had so much fun making these cards.  When I get some free time (hah!), I would like to make some more projects like these!

Which one is your favorite?  What have you done with this set?


Monday, October 31, 2016

Okay, I'll Start on Christmas!


 Some of you know that I resist making Christmas cards and projects in Aug, Sept and Oct.  But I've finally given in and taken out some Christmas stamps and papers!  My holiday classes have begun.

I used the new oval framelits to accent the saying on the card and on the gift bag.  I just love how the scallop oval frames the sayings.  I think it adds a lot of class to the projects. 

I love the little grapevine ornament!  I got the idea from the Stampin Up holiday catalog.  It's hard to see in the photo, but I put the musical note designer paper inside the wreath to give it a slight vintage look.  I used a circle punch for the circle shape and a glue gun to adhere it to the wreath.  The rest of the embellishments are held with assorted sized glue dots. 

The gift bag can be used to hold a cookie, a gift card or a note.  You could also put some cash in there for a special recipient.  Pretty much, anything small can go in it.  :)

I wasn't sure if I liked the card in the off-white colors, so I re-made the projects using white cardstock.  Usually I'm not a big fan of the vanilla, but this time I do like it better than the white. 

I used the stamp set, Peace this Christmas and got my ideas on Pinterest from Jennifer Frost.

Which do you prefer, the card and ornament made with the vanilla or do you like it in the white?

The Owls Have Flown In!

Remember the cute little owls that I made for a baby gift?  Well, I redesigned them to make them look more like a woodland decor item than a kids' toy.  He's cute, right?  Don't you love the little scarf that I crocheted for him?  And I even made a matching hexagon placemat to set him on!

 Here are a few more cuties adorned in fall colors just in time for November and Thanksgiving.  The two on the ends look like they're keeping watch over the others!

Here are a few more that flew in, dressed in more of a teal-colored palate, one of my new favorite colors to decorate with.

And this one I think is my favorite.  He's sort of plain looking, but I think that I like him because of that.

Which one do you like best?


Friday, October 21, 2016

Taking a Stroll Down Candy Cane Lane

This week I offered a stamping class featuring fun designer paper named Candy Cane Lane.  Doesn't the name of the paper just get you in the mood for making some holiday projects?  It features Chocolate Chip (dark brown), Crumb Cake (tan) and Cherry Cobbler red paper.  I had so much fun using these three colors and coming up with the cards and this cute little box.

The box is make using the Baker 's Box thinlits.  It went together very quickly and easily (no matter what the ladies who come to my class say!).   I decorated it with a house cut out from the paper and some stamped designs that I also cut out and added.  Although you can't see it in the photo, I added some Wink of Stella glitter to the snow on the top of the houses on all of the projects.

This card is a dimensional shaker card.  It has two layers on the front with a window and some "snow" inside that you can shake around the little house.  The house is a cut out from the designer paper.  I didn't have a square cut out framelit, so I used this shape that came from the pillow box thinlet set.  I actually think that I like this better because the shape adds some interest to the card.

This next card is pretty simple to make.  I embossed the white paper using the Softly Falling embossing folder.  This adds just a simple design to the background that then added some cut outs from the designer paper.  I copied the idea from Sandy Moll on Pinterest.  Okay, all of the ladies in my class grumbled about cutting out the pieces, but don't they look cute on this card?  After the card was assembled, they all liked how it turned out.  :)

My favorite card of the night was this cute card turning the little gingerbread house into a birdhouse!  I got the idea on Pinterest from Amanda Bates .  I love how she added some birds from the Thoughtful Branches stamp set.  I think that makes it so much cuter!

Which one of the projects do you like the best?  Majority vote from the class was for the shaker card.  But I am voting for the birdhouse card.  :)